- Standard are general-purpose file shares using a Ceph-based backend.
- VAST are high-performance type file shares, available in selected GPU-enabled regions.
File share types are mutually exclusive, meaning each region has either Standard or VAST file shares, but not both.
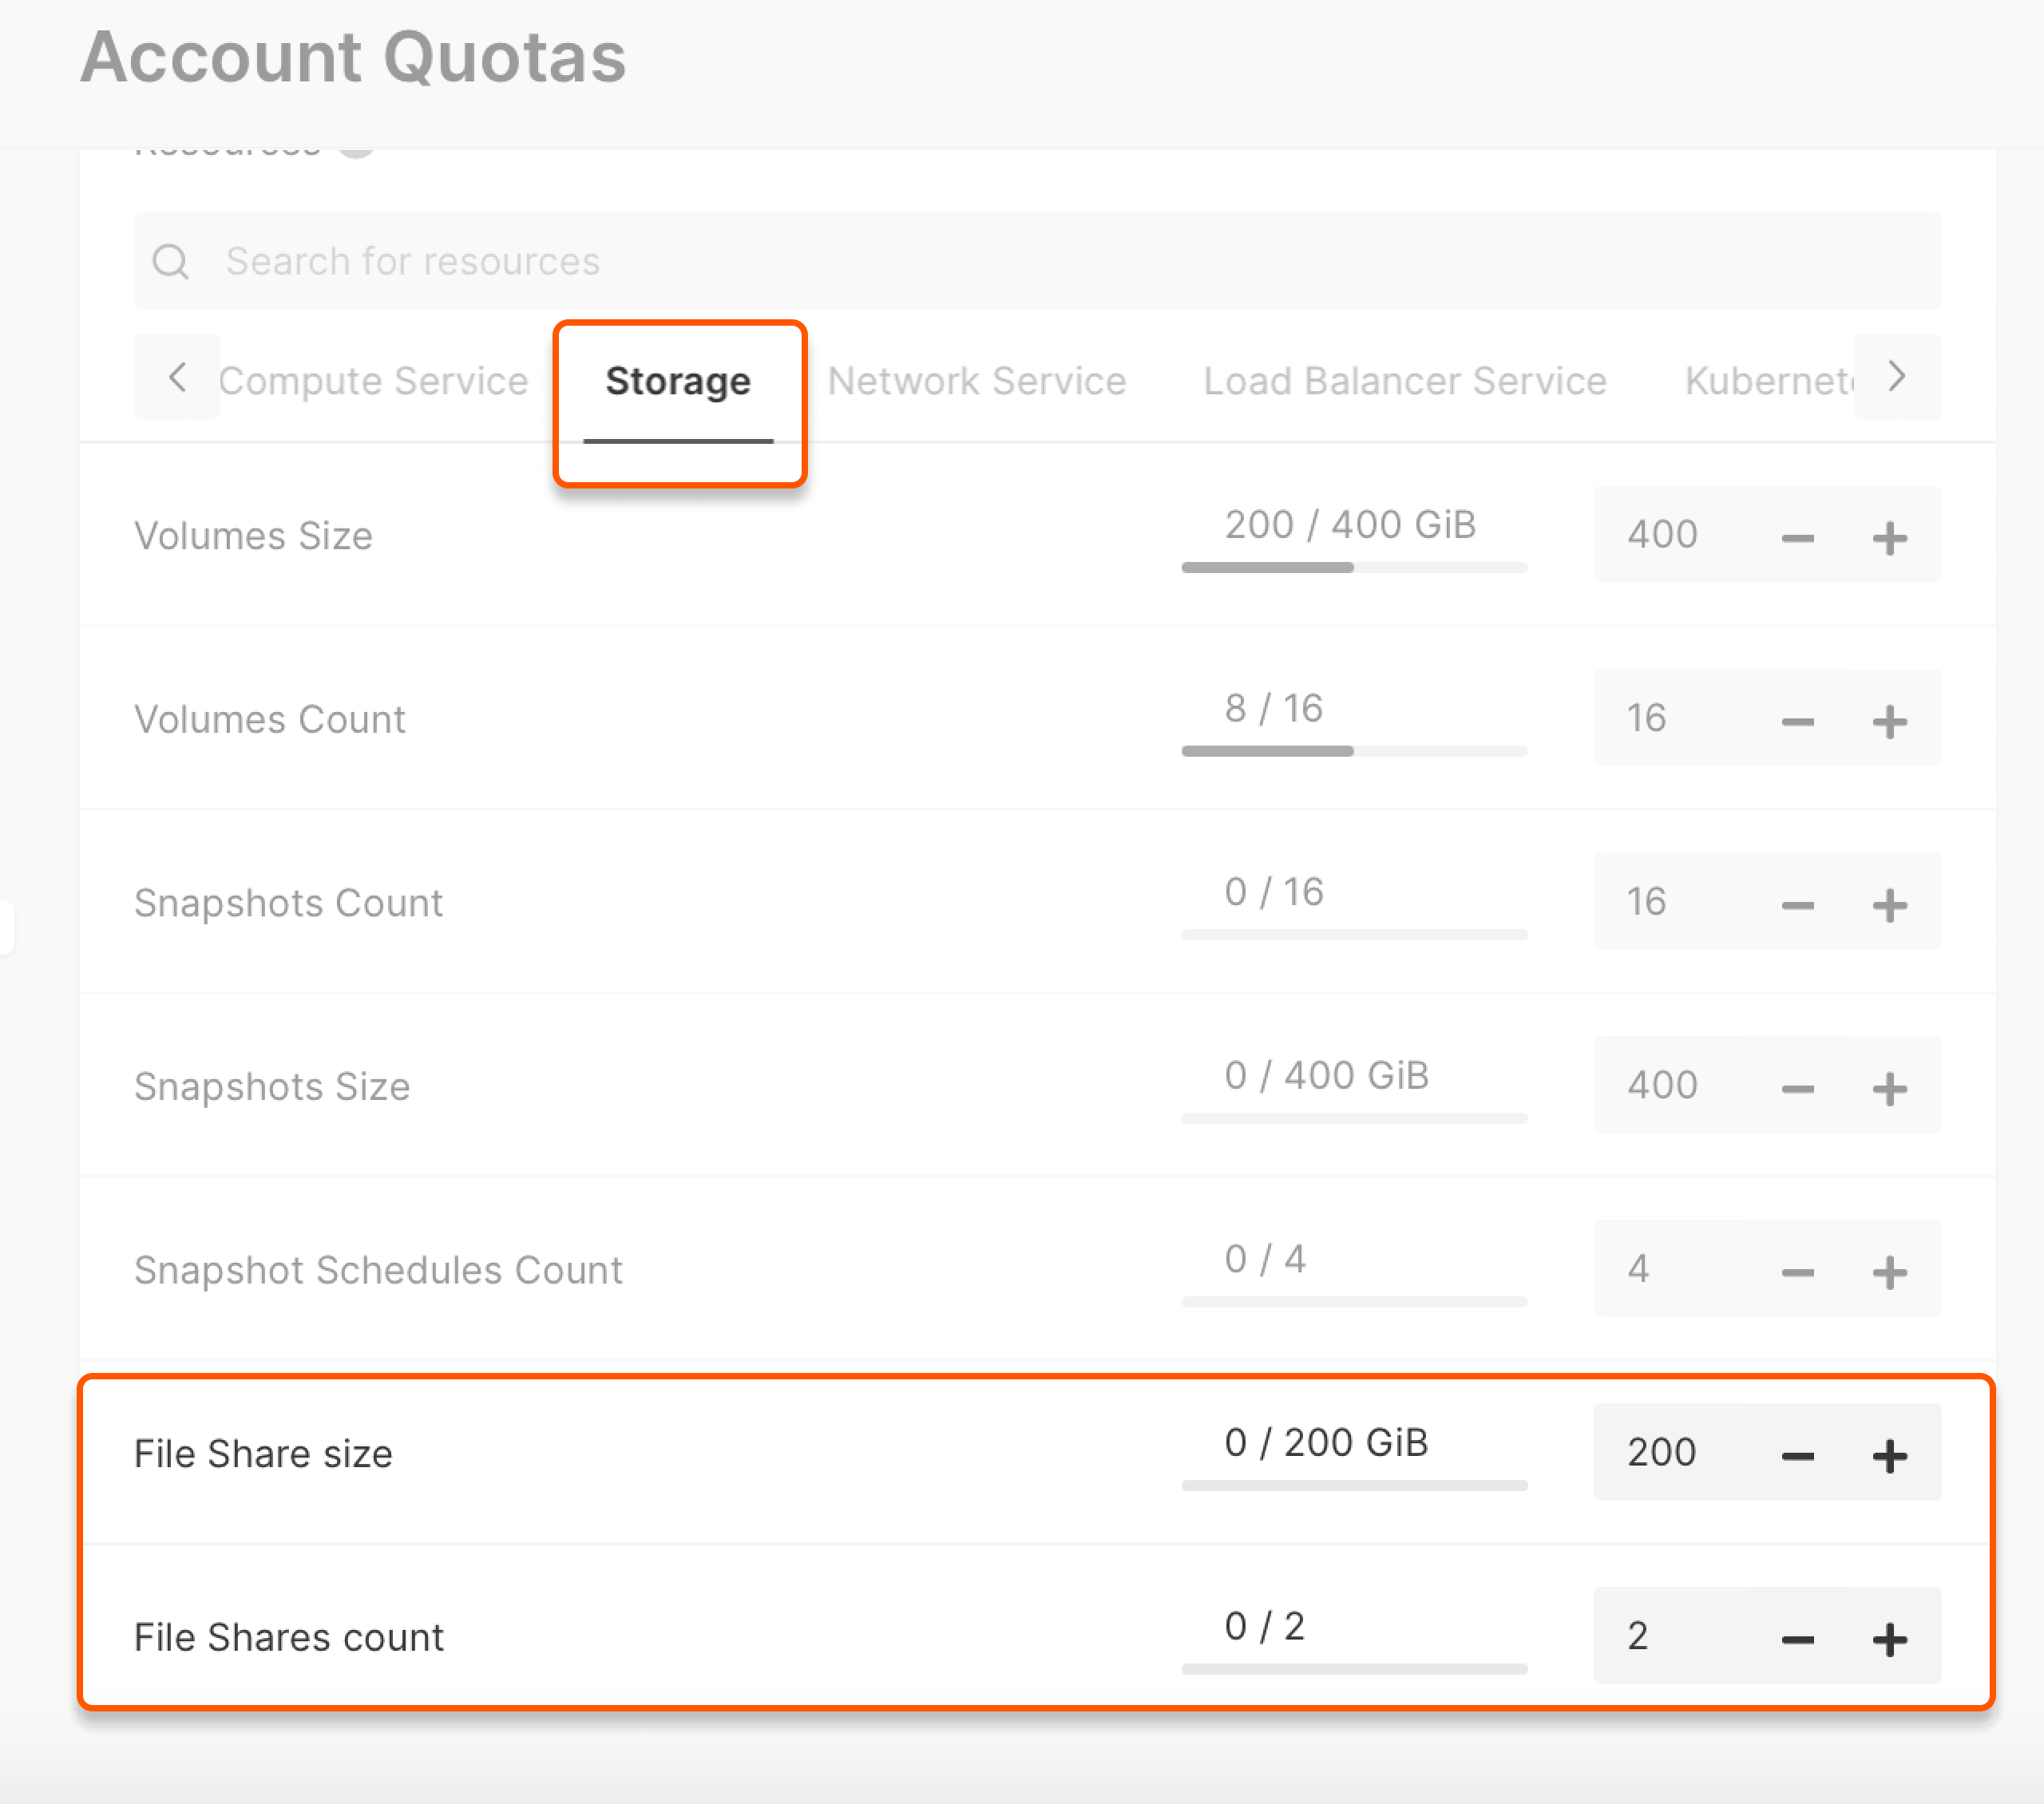
Please ensure that there are enough quotas to create the file share. To increase quotas, send us a request according to our guide. The quotas for File Shares are located on the Storage tab and include File Share count and File Share size (GiB).
Prepare your network for Bare Metal
If you plan to mount the file share on a bare-metal server, the network must support bare-metal, and these servers require a dedicated VLAN. If needed, create a new network and enable the Bare Metal Network toggle during configuration.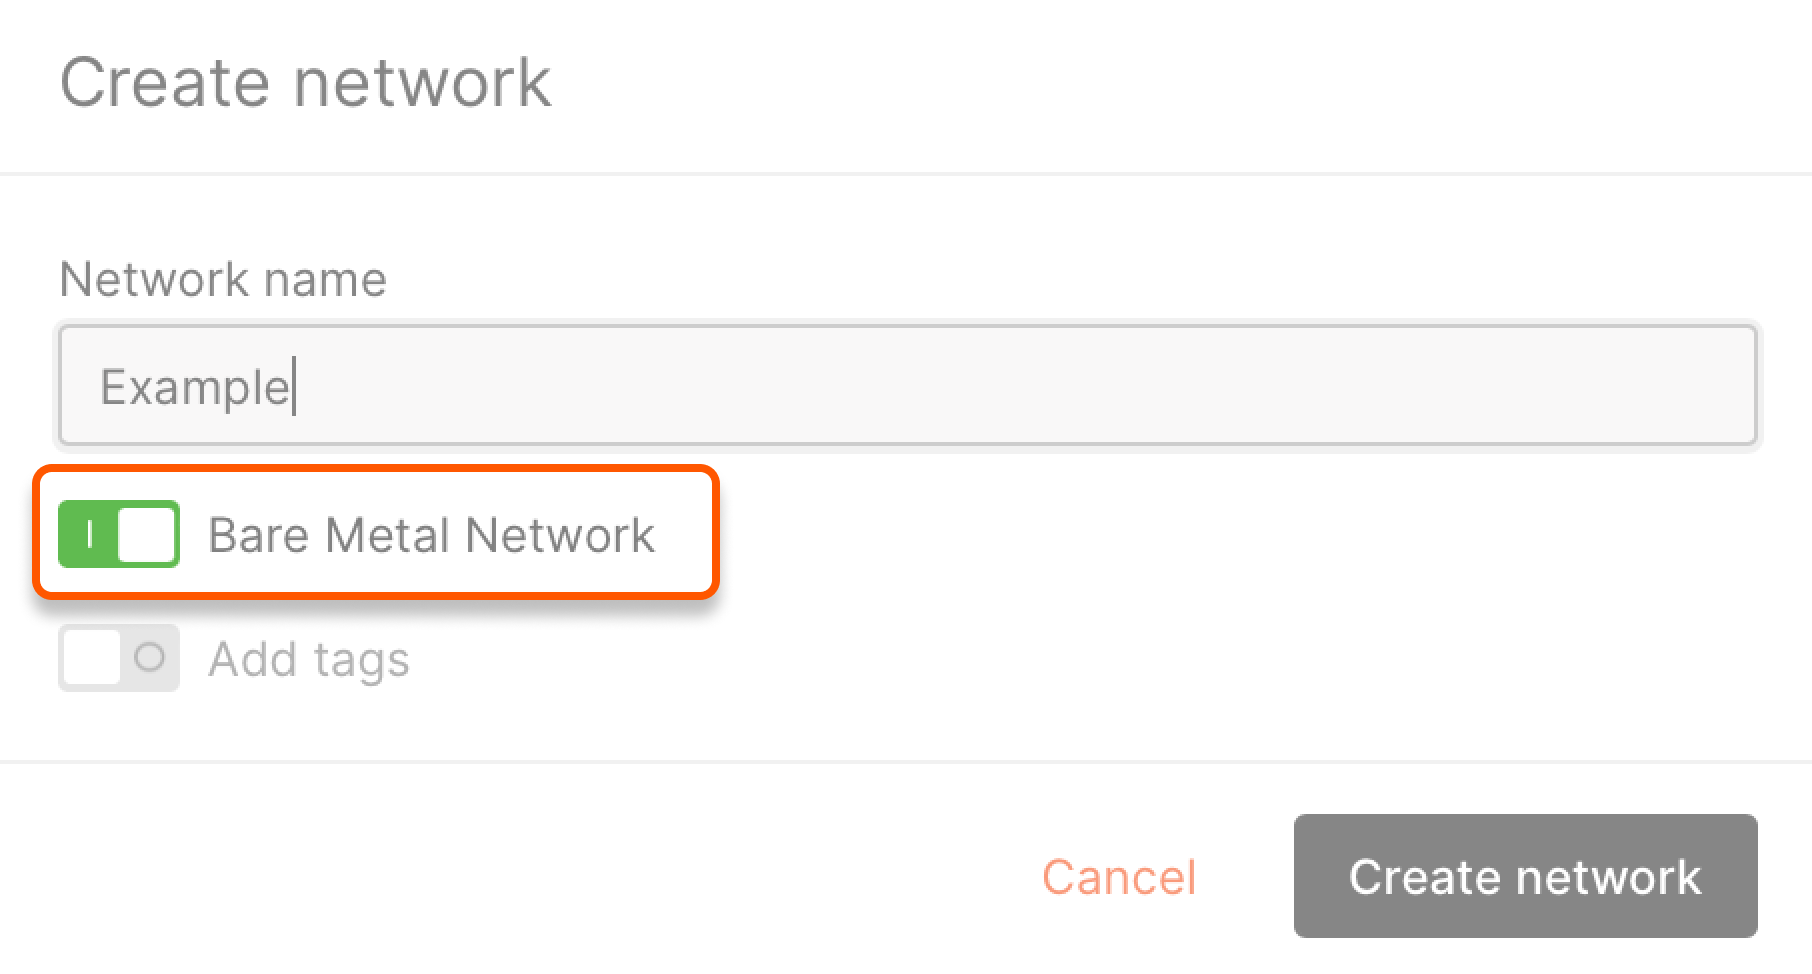
You must manually change the OS settings’ existing Bare Metal network interface.
Configure file shares for Linux VMs and Bare Metal
This section describes creating and connecting a standard NFS-based file share using a private network. It can be used with Linux virtual machines or bare-metal servers.Step 1. Create a file share
- In the Cloud menu, click Storage, select File Shares, and click Create File Share on the right.
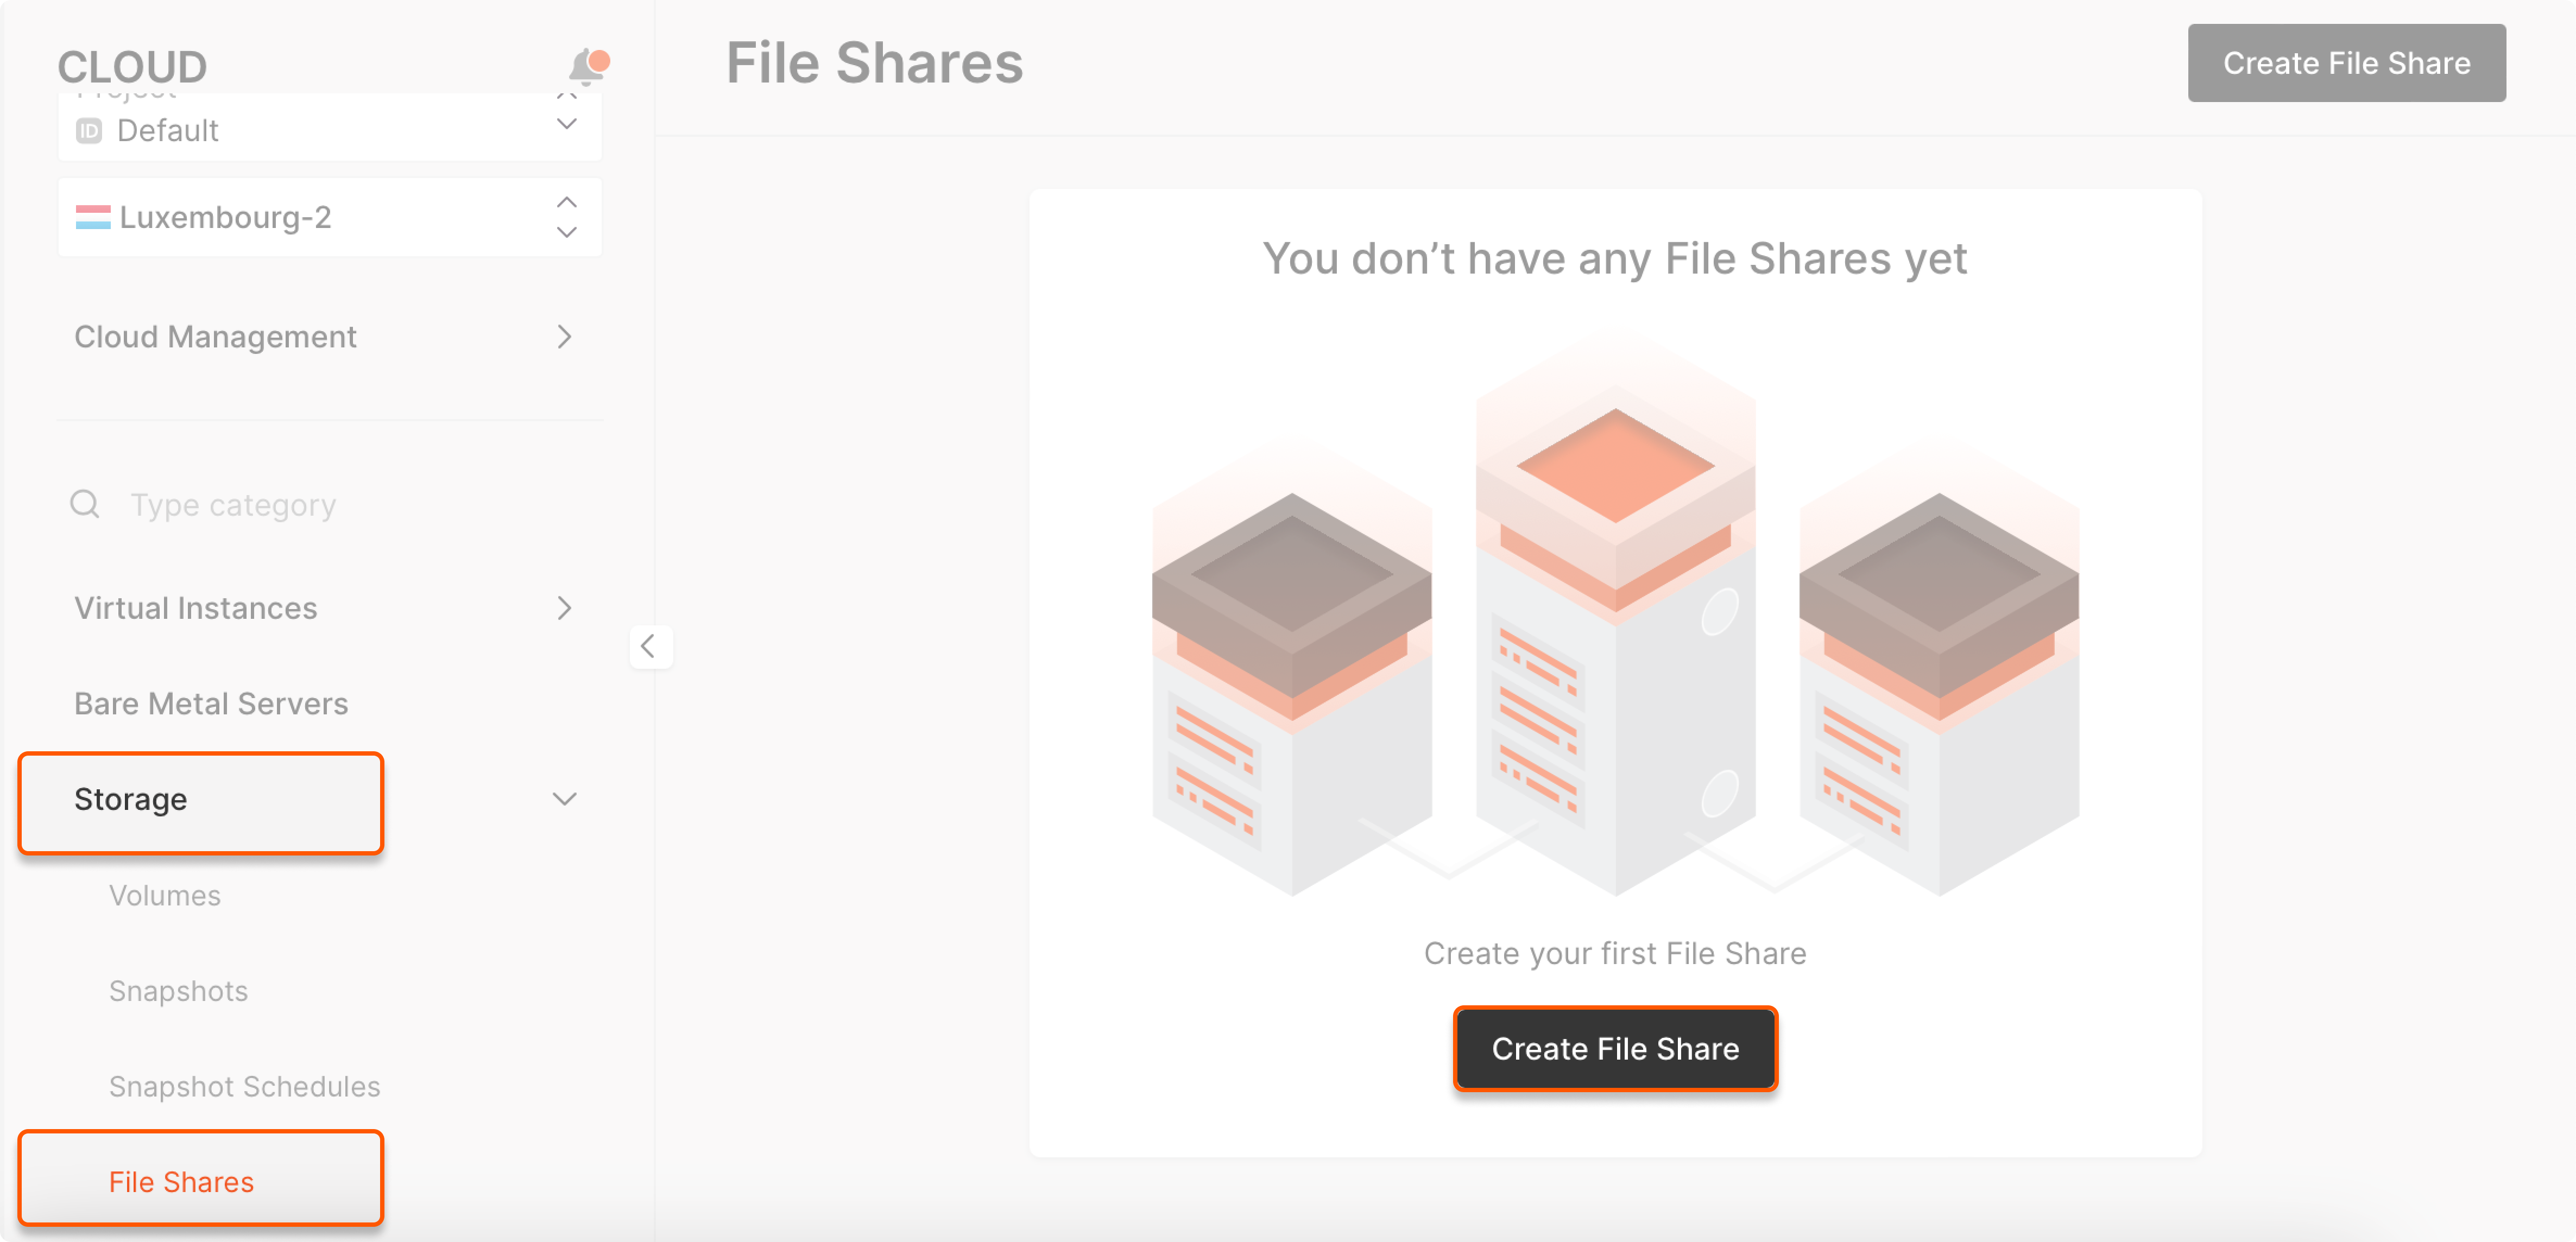
- In the Basic settings panel, enter File Share name, specify Size, and select Standard as the File Share type.
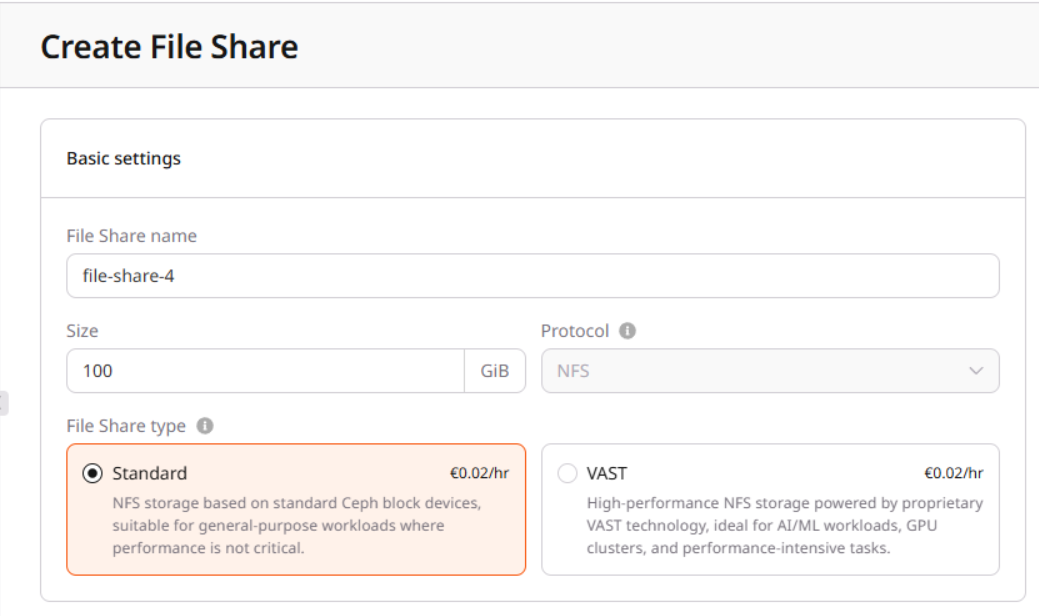
- In the Network settings panel, select the private Network and Subnetwork to use for the file share.
- In the Access panel, click Add rule and specify the IP addresses of the resources that should have access to the file share, and their access modes.
- Set Aditional options, if required.
Step 2. Set up NFS client support
Connect to your server via the Gcore Customer Portal or SSH and set up NFS client support. For Ubuntu and Debian:sudo apt -y install nfs-common
For CentOS:
sudo yum install nfs-utils
Step 3. Mount the file share
-
Use an existing directory for mounting the share, or create a new one, for example:
sudo mkdir -p /mount/path - Copy the mount command from the the file share Overview tab.
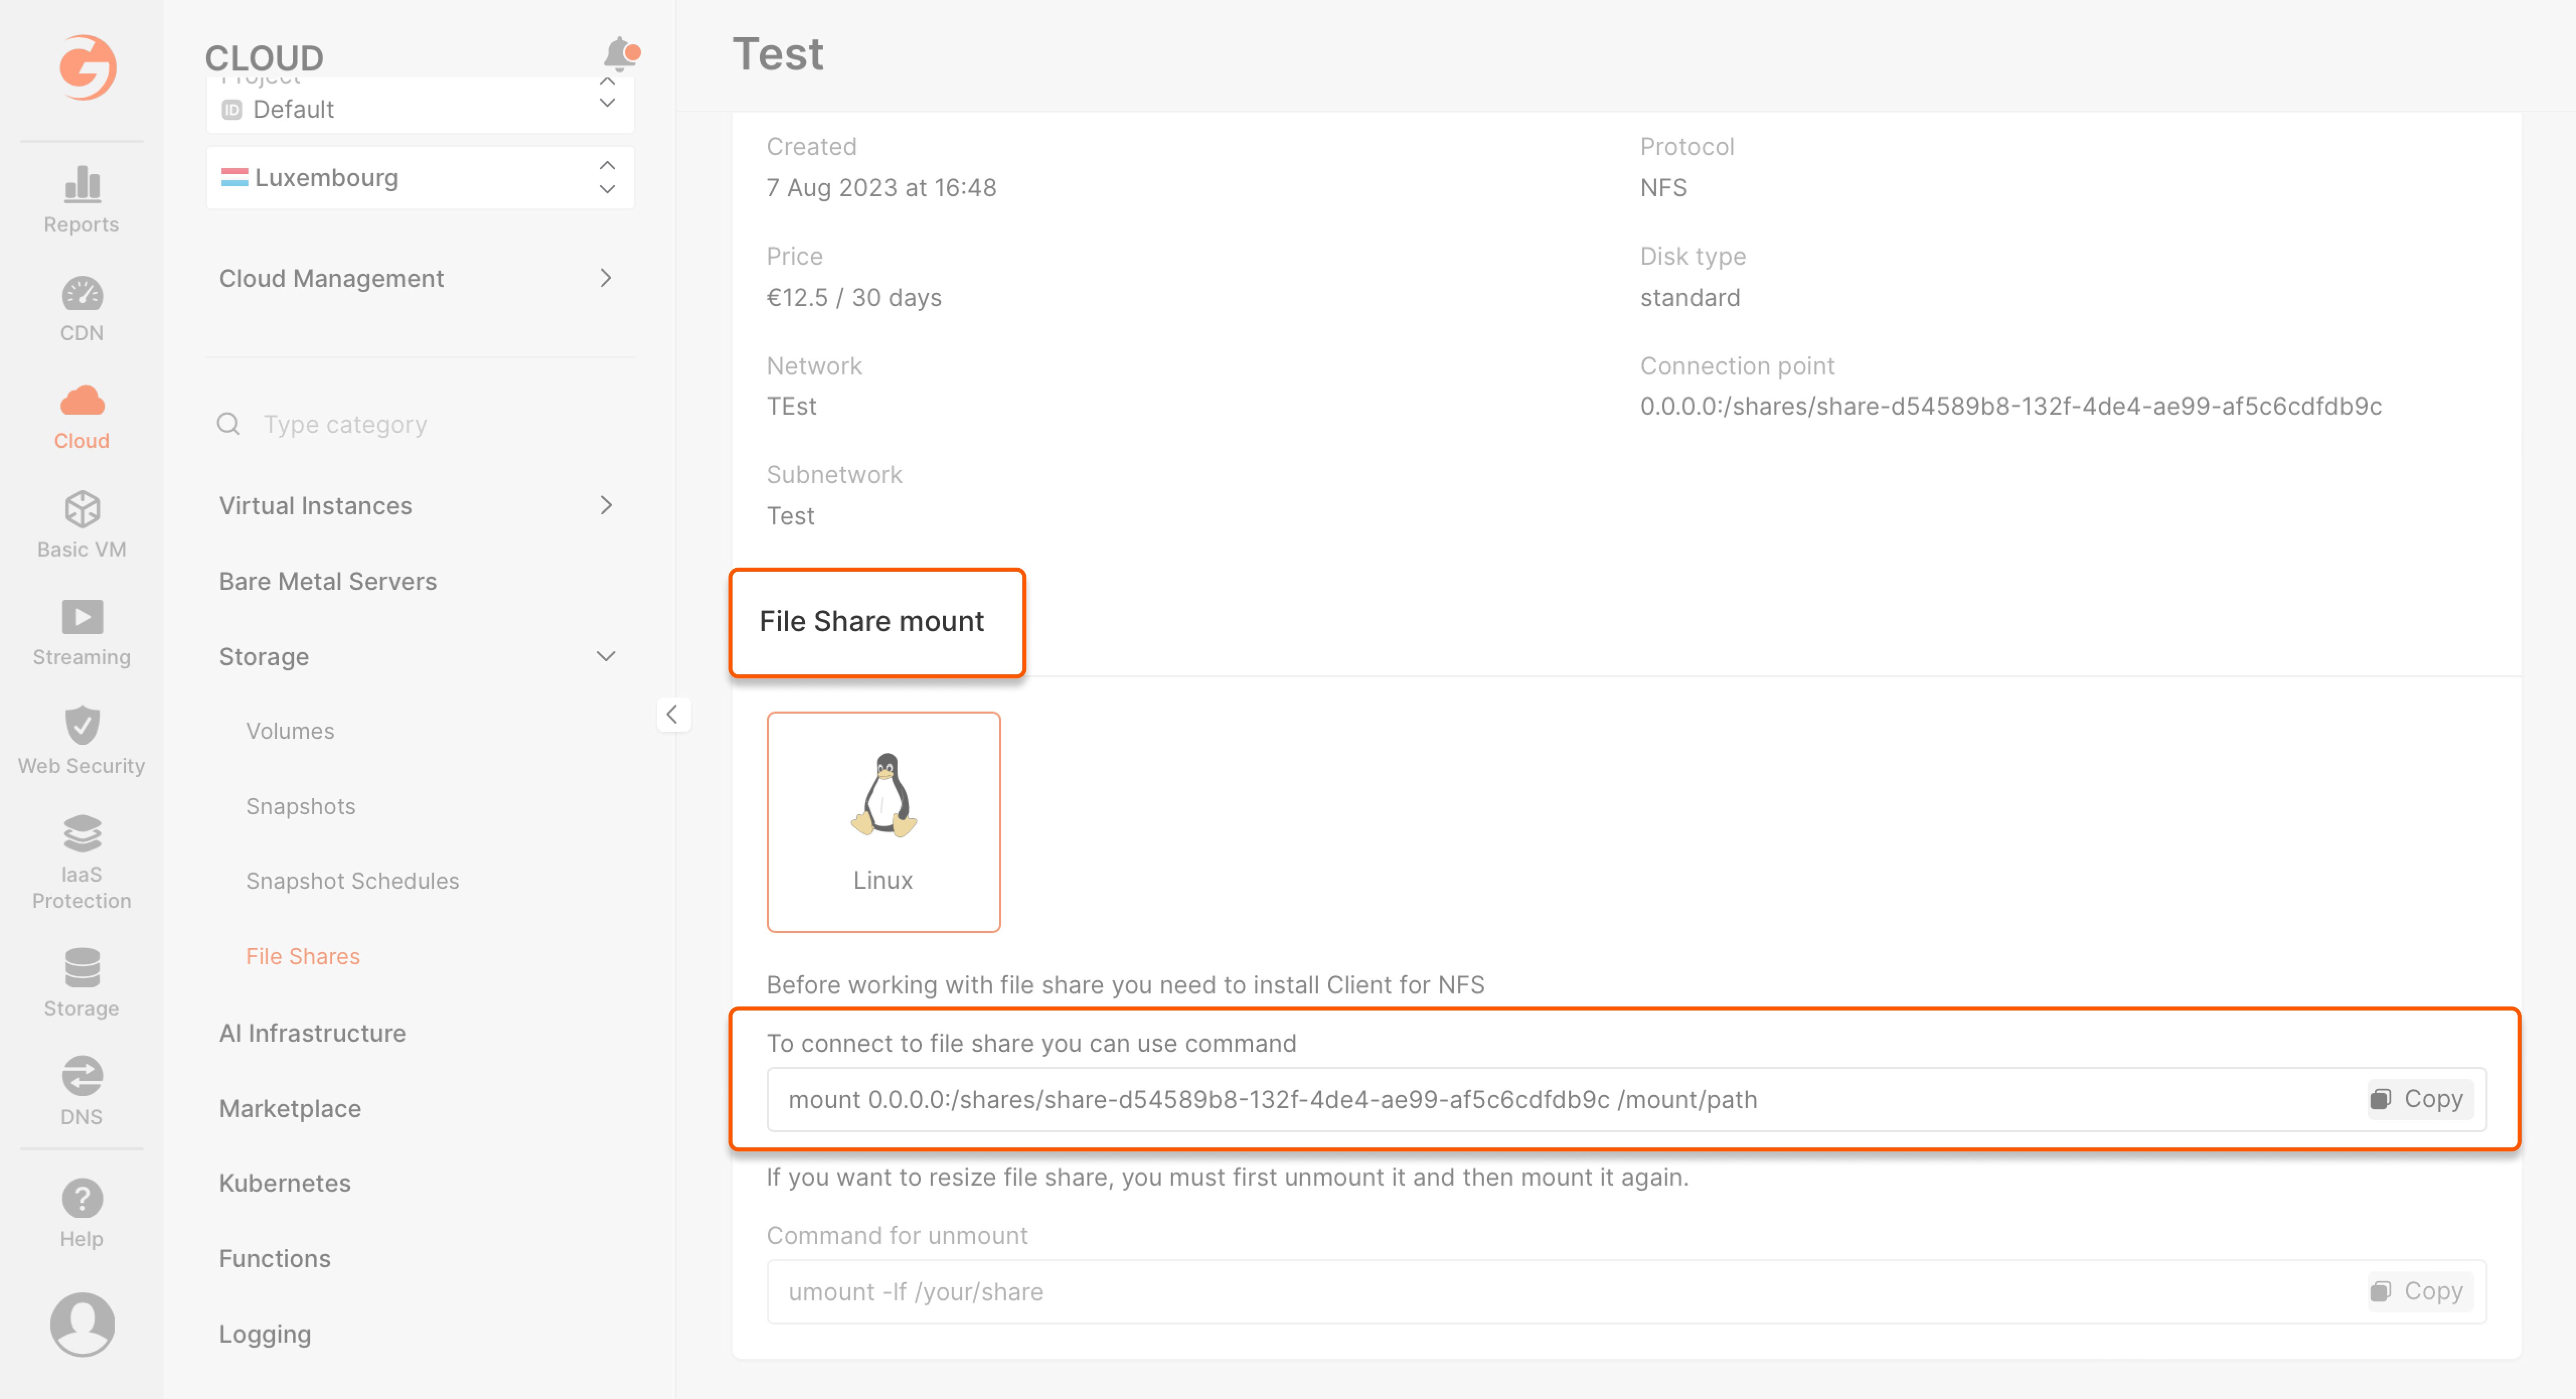
mount 0.0.0.0:/shares/share-d54589b8-132f-4de4-ae99-af5c6cdfdb9c /mount/path
Replace /mount/path with the absolute local directory path where you want the file share to be mounted.
VAST file shares
VAST-based file shares are only available in regions with GPU support, and use high-performance backend designed for intensive data workloads.
Step 1. Create a VAST share
- In the Cloud menu, click Storage, select File Shares, and click Create File Share on the right.
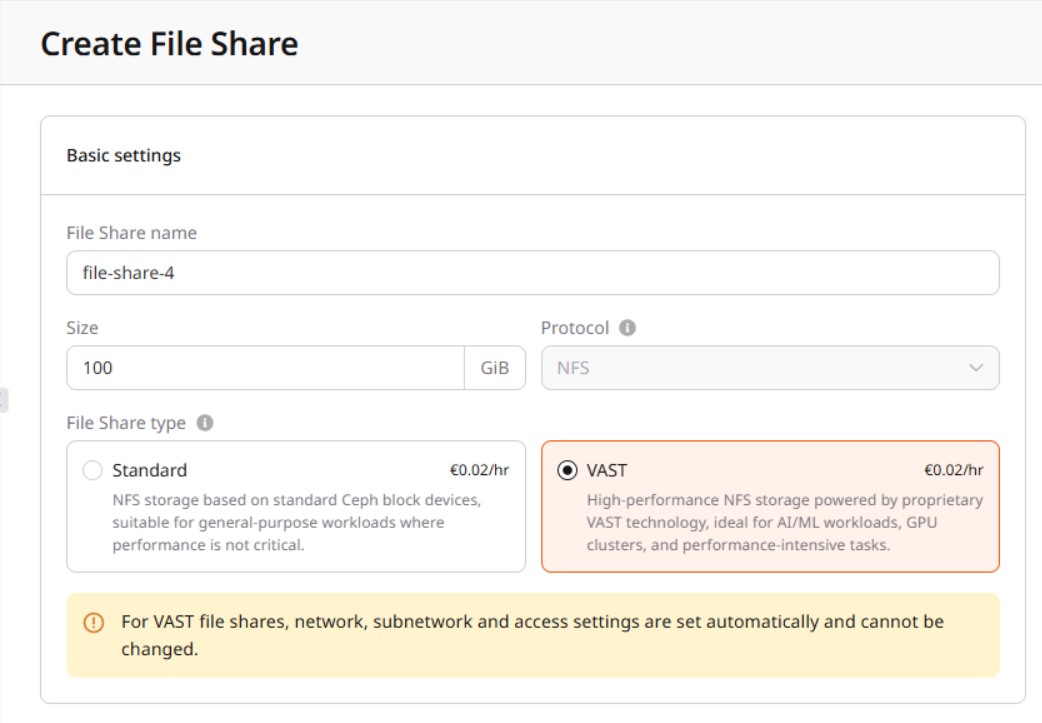
- In the Basic settings panel, enter File Share name, specify Size, and select VAST as the File Share type.
- Set Aditional options, if required.
Step 2. Add VAST network interface to a compute resource
Once the VAST file share is created, it is best to add the VAST network interface while provisioning the corresponding GPU cluster or compute resource.Adding VAST interface while creating a compute resource
While provisioning a compute resource:- Scroll down to the Network settings panel.
- Click Add interface.
- Click the interface to configure, and select the VAST network.
- Continue with provisioning the compute resource.
Adding VAST interface to an existing compute resource
While the VAST interface can be attached to an already-provisioned GPU cluster or compute resource, this approach is generally not recommended because of additional complexity. Attach VAST network interface- Go to server Resource settings (VM, Bare Metal, or GPU cluster).
- Select the Networking tab and click Add interface.
- Click the Network drop-down and select the VAST network, then click Add.
- Once the interface is added, note the following details for use in subsequent steps:
- IP address (such as
198.51.100.25) - MAC address (such as
fa:16:3e:12:34:56) - CIDR range (such as
198.51.102.0/22)
- IP address (such as
This configuration is required only when adding an interface to an existing, already provisionned resource; for interfaces added during resource creation and provisioning, this configuration is performed automatically.
-
Use
ip addrto list all available interfaces. - Identify the VAST interface using the MAC address from the prevous step.
-
Note the interface name (such as
enp8s0orenp4s0) for use in the following steps. -
Using commands below:
- Replace
198.51.100.25with the IP adress from Step 2. - Replace
enp8s0with the interface name from above, if different.
sudo ip link set enp8s0 mtu 9000Activate the interface:sudo ip link set enp8s0 upSet interface CIDR:sudo ip addr add 198.51.100.25/22 dev enpXs0 - Replace
-
Add static route to the VAST network:
- Replace
198.51.102.1with an address formed by the first three octets from the CIDR range in Step 2, keeping1as the last octet for the gateway IP, and using the same interface name.
sudo ip route add 172.19.252.0/22 via 198.51.100.1 dev enp8s0 - Replace
Step 3. Set up VAST NFS client support
This step is always required for VAST file shares, regardless of whether they are added during or after resource provisioning.
- Install NFS client tools:
sudo apt-get update && sudo apt-get install nfs-common -y
- Install build tools and headers for kernel modules:
sudo apt install dkms debhelper dh-dkms build-essential linux-headers-$(uname -r) -y
- Install VAST NFS package:
curl -sSf https://vast-nfs.s3.amazonaws.com/download.sh | bash -s --
Step 4. Mount the file share
You can use an existing directory for mounting the share, or create a new one, for example:sudo mkdir -p /mount/path
Mount the VAST file share:
- Replace
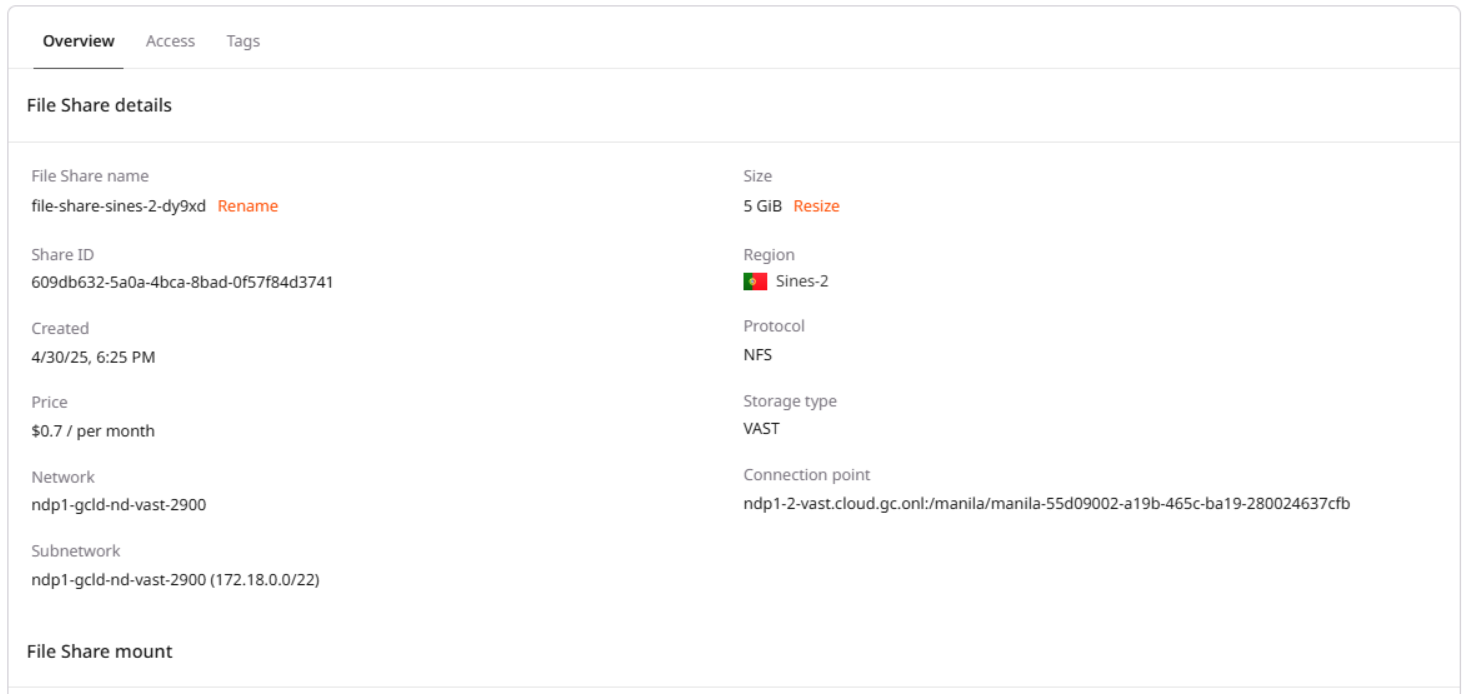
ndp1-2-vast.cloud.gc.onl:/manila/manila-01234567-89ab-cdef-0123-456789abcdefwith the connection point from the VAST file share overview tab. - Replace
/mount/pathwith the absolute local directory path where you want the file share to be mounted.
sudo mount -o vers=3,nconnect=56,remoteports=dns,spread_reads,spread_writes,noextend ndp1-2-vast.cloud.gc.onl:/manila/manila-01234567-89ab-cdef-0123-456789abcdef /mount/path
Now you can access the contents of the VAST file share in the specified directory.
Always use NFS version 3 (vers=3) when mounting VAST file shares. If your system does not support the
nconnect option, install the VAST Enhanced NFS Client.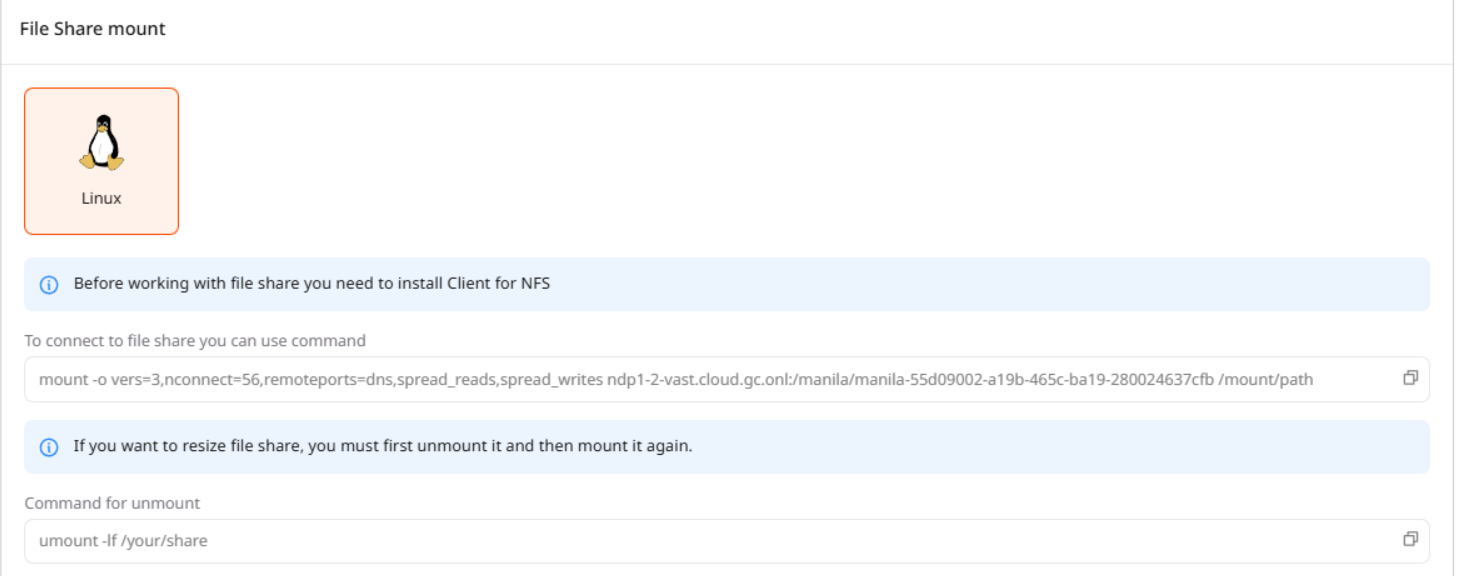
Resizing file shares
- VAST shares can be resized directly, without being unmounted.
-
Standard shares must first be unmounted before they can be resized, for example:
umount -lf /mount/pathOnce resized, file shares can be remounted as described above for each share type.
Resize file share
This process is the same for both Standard and VAST-based file shares:- In the Cloud menu, go to the Storage tab, select File Shares, and click the file share to be resized.
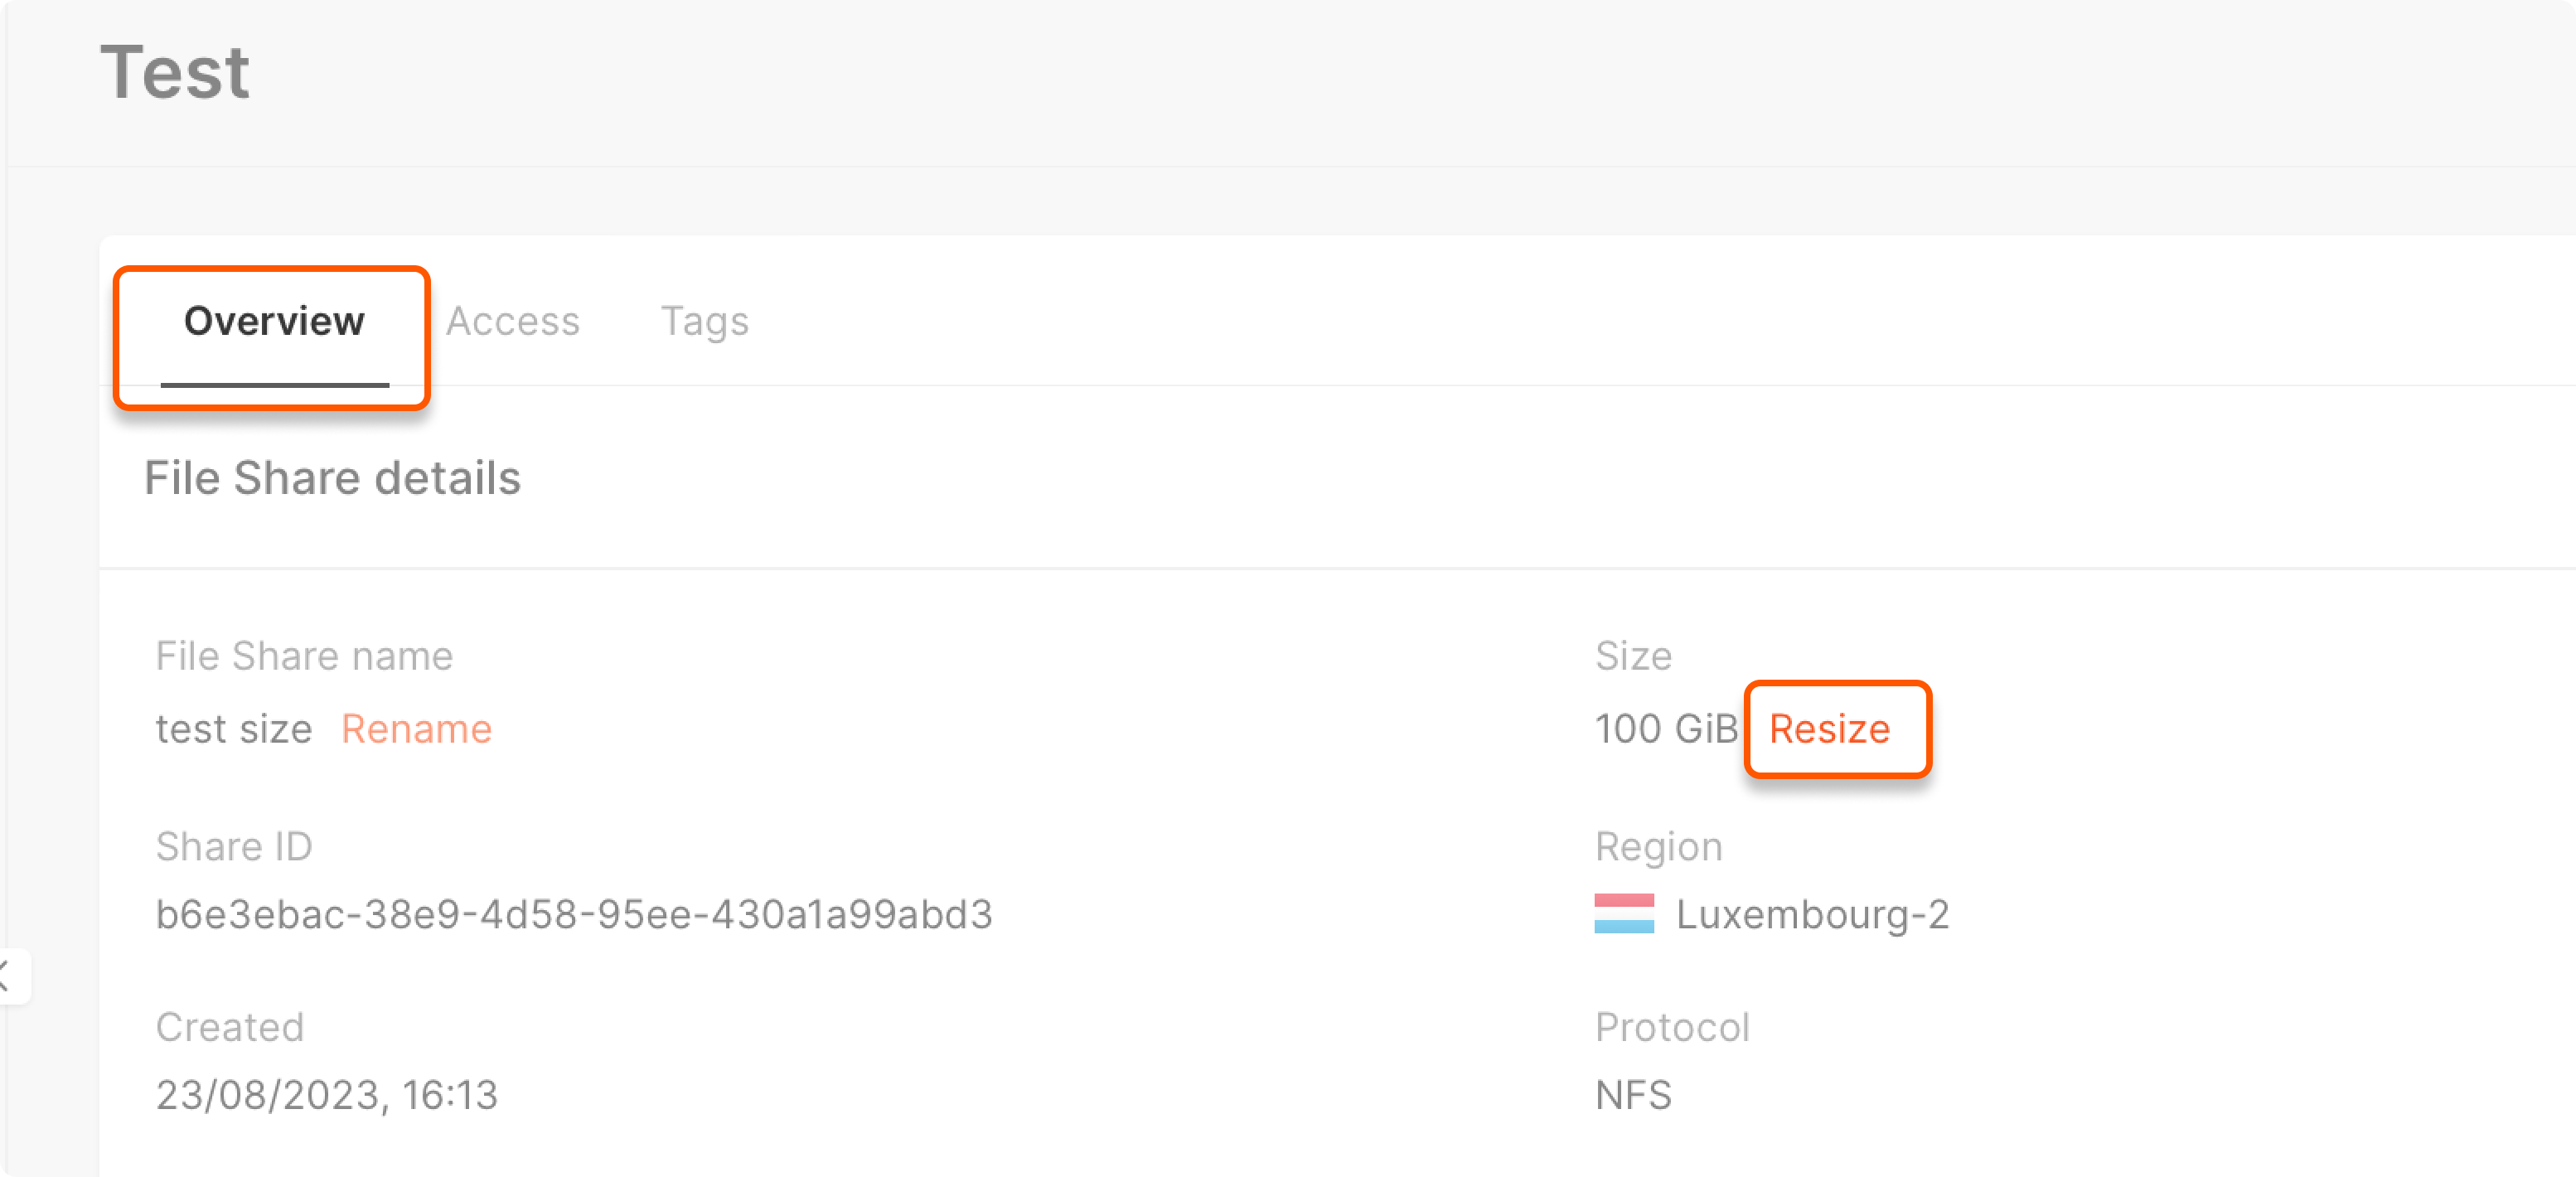
- In the Overview tab, click Resize and enter the new share size:
