

1
Enter server details
Enter a Server name and the Origin address — IPv4 or a domain name.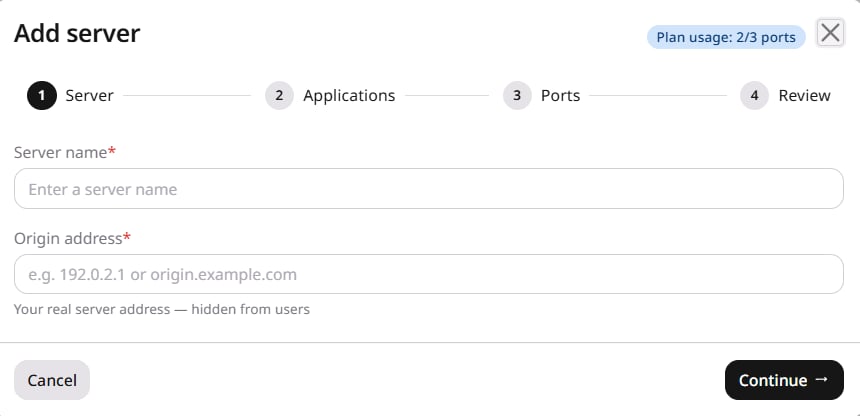
2
Select applications
Each card is a supported application: a DDoS filtering profile such as Minecraft Protection, a Counter-Strike variant, FiveM, Generic TCP Server, or General UDP Countermeasure.Use Type to search to filter the list. Select every profile that matches traffic on this server.The plan usage counter in the wizard header tracks how many port mappings are active across all servers against the plan limit.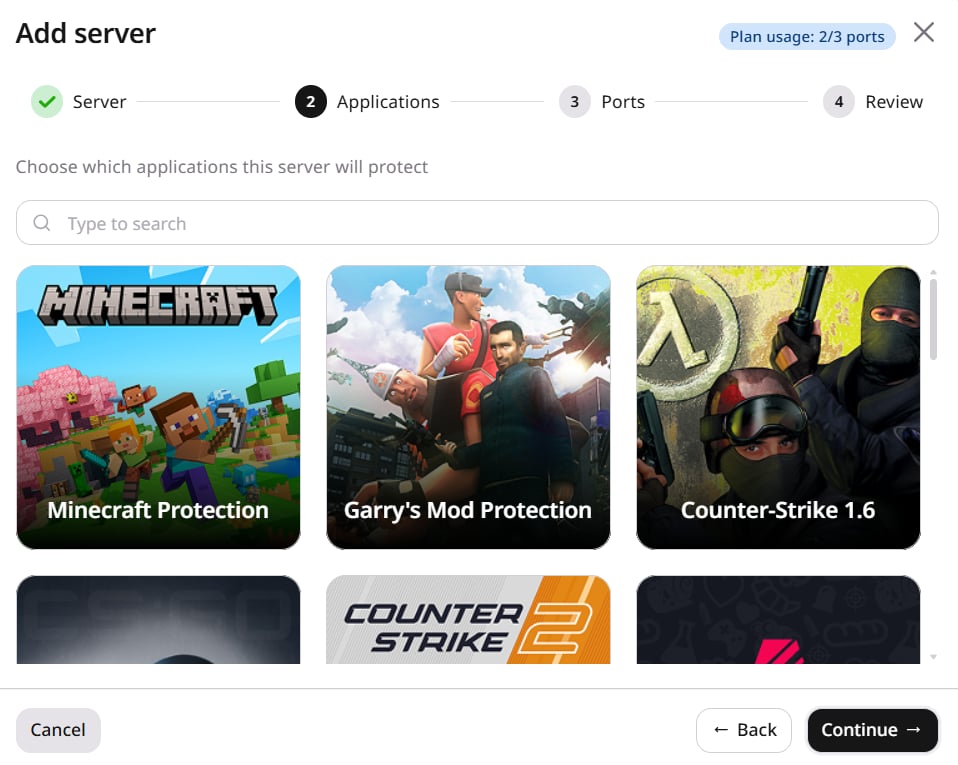
3
Set ports
For each selected application, enter the listening port (1–65535) and select TCP or UDP. Click Add port to add more ports.Click Advanced to set Proxy protocol on each port.Proxy protocol prepends a header so the origin sees the original client IP instead of the Edge Proxy address. It is available in two versions: V1 supports TCP connections and V2 supports both TCP and UDP and can carry additional connection metadata, so the origin application must support the selected version — otherwise, leave the setting Off.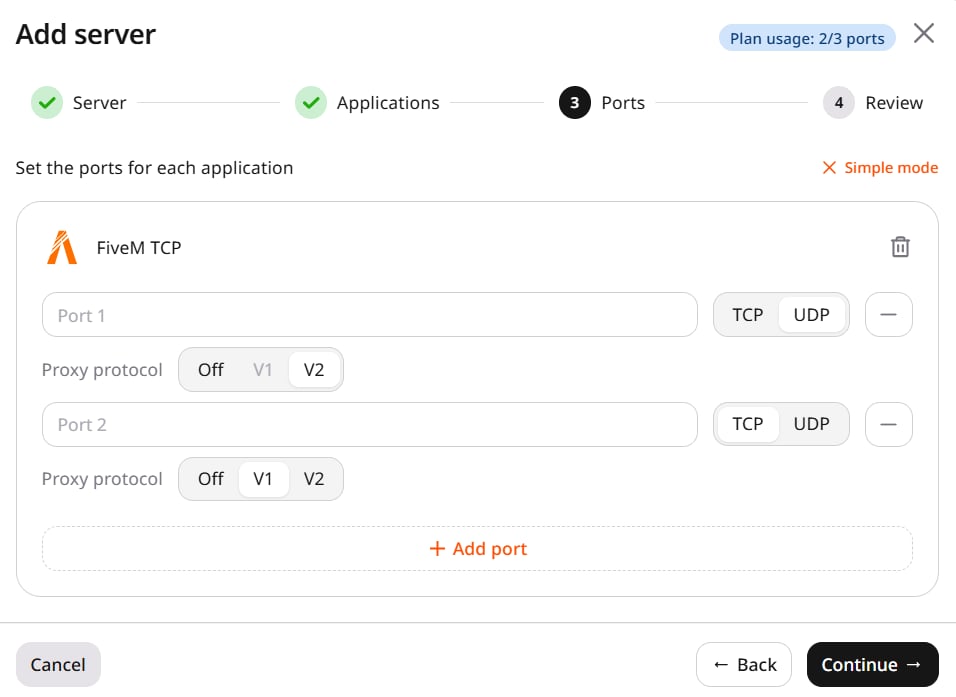
4
Review and deploy
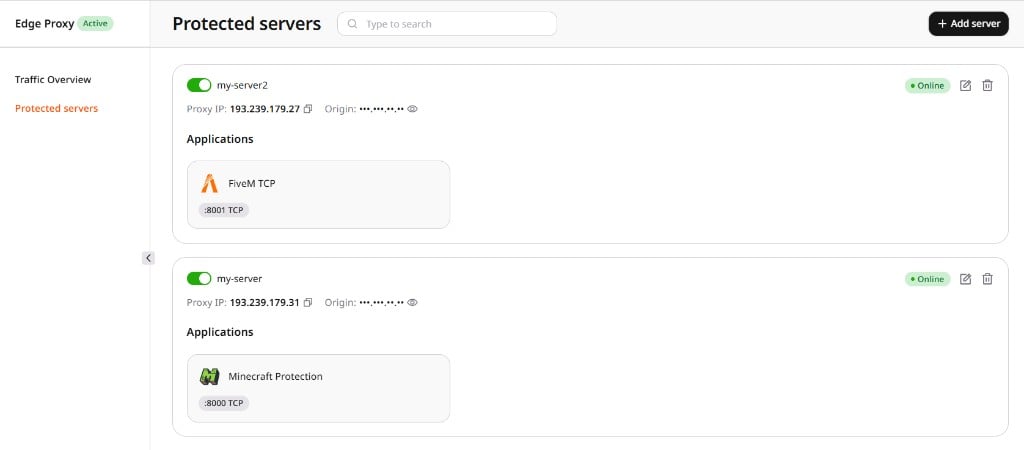
Click Deploy. Activation takes about 3 minutes, after which the server appears in the Protected servers list with Online status and an assigned proxy IP.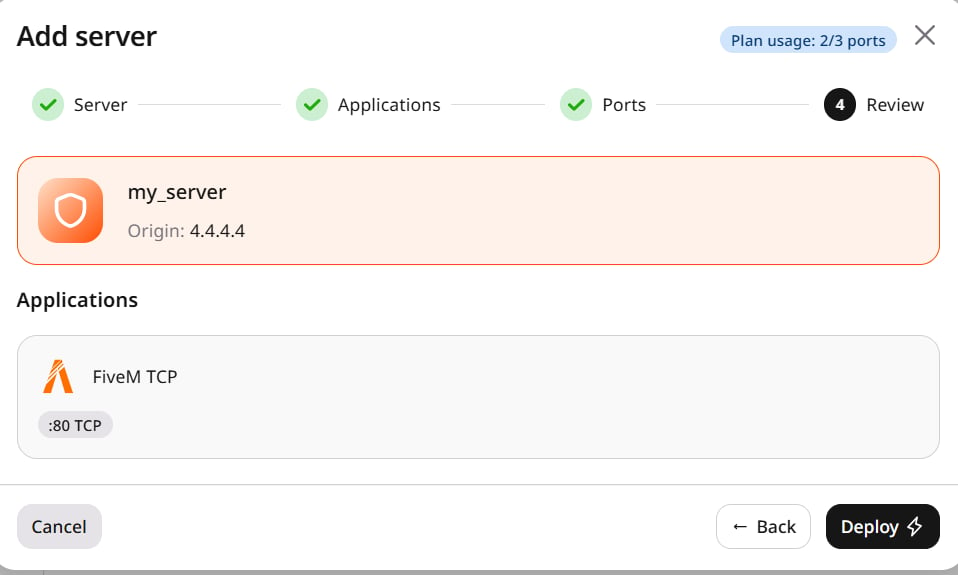
If the application is unreachable after activation, most activation issues trace back to firewall rules blocking Gcore edge IPs, incomplete DNS propagation, or a protocol mismatch.
Restrict access to the origin
Edge Proxy connects to the origin over IPv4 from Gcore edge servers. These are the same servers that Gcore CDN uses, so the origin allowlist uses the public CDN address lists. Allow these addresses on the origin and block all other sources. Otherwise, attackers can reach the origin directly and bypass Edge Proxy.The list of Gcore edge addresses changes as the network expands. New entries appear in the public lists 30–60 minutes before a server starts to forward traffic. An address that is missing from the origin allowlist blocks all clients that Gcore routes through that server. Automate allowlist updates from the public endpoints.
Host addresses
The public IP endpoint returns IPv4/32 host CIDRs in addresses. Poll it every 10 minutes, apply additions immediately, and add each value to the origin allowlist:
addresses_v6. Edge Proxy does not use those addresses to reach the origin.
Network ranges
The public network endpoint returns broader CIDR ranges inaddresses. Use those ranges when the firewall has a limit on the number of rules:
Both commands require
jq to extract the arrays from the JSON response.