Step 1. Install Helm
Helm is a package manager that simplifies deploying and managing applications on Kubernetes. The following tabs cover installation on the most common operating systems. For other platforms, the Helm installation guide lists additional methods.- On Linux
- On macOS
- On Windows
1. In the terminal, run the official Helm installation script:This downloads and installs the latest version of Helm to
/usr/local/bin/helm.2. Verify the installation: helm versionStep 2. Deploy the nginx Ingress Controller
The following commands create a dedicated namespace, register the Helm repository, and install the controller.- Create a namespace for the controller:
- Add the nginx Ingress Controller Helm repository:
- Update the repository index:
- Install the nginx Ingress Controller:
Step 3. Get the Load Balancer IP address
Run the following command to watch the service until an external IP is assigned:EXTERNAL-IP column changes from <pending> to an IP address.
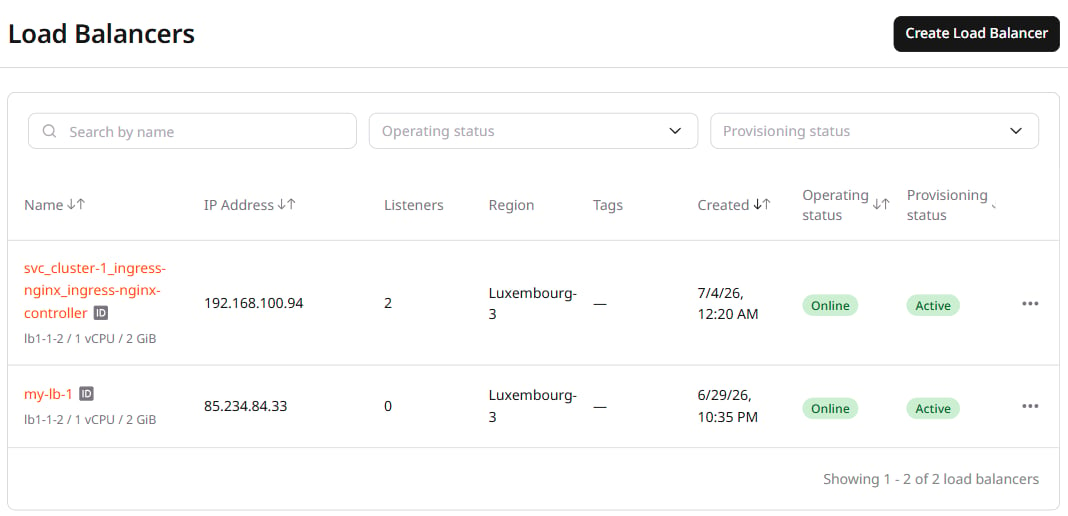
The Load Balancer also appears in the Gcore Customer Portal under Networking > Load Balancers, where it routes all incoming traffic to the nginx Ingress Controller.