Advanced settings
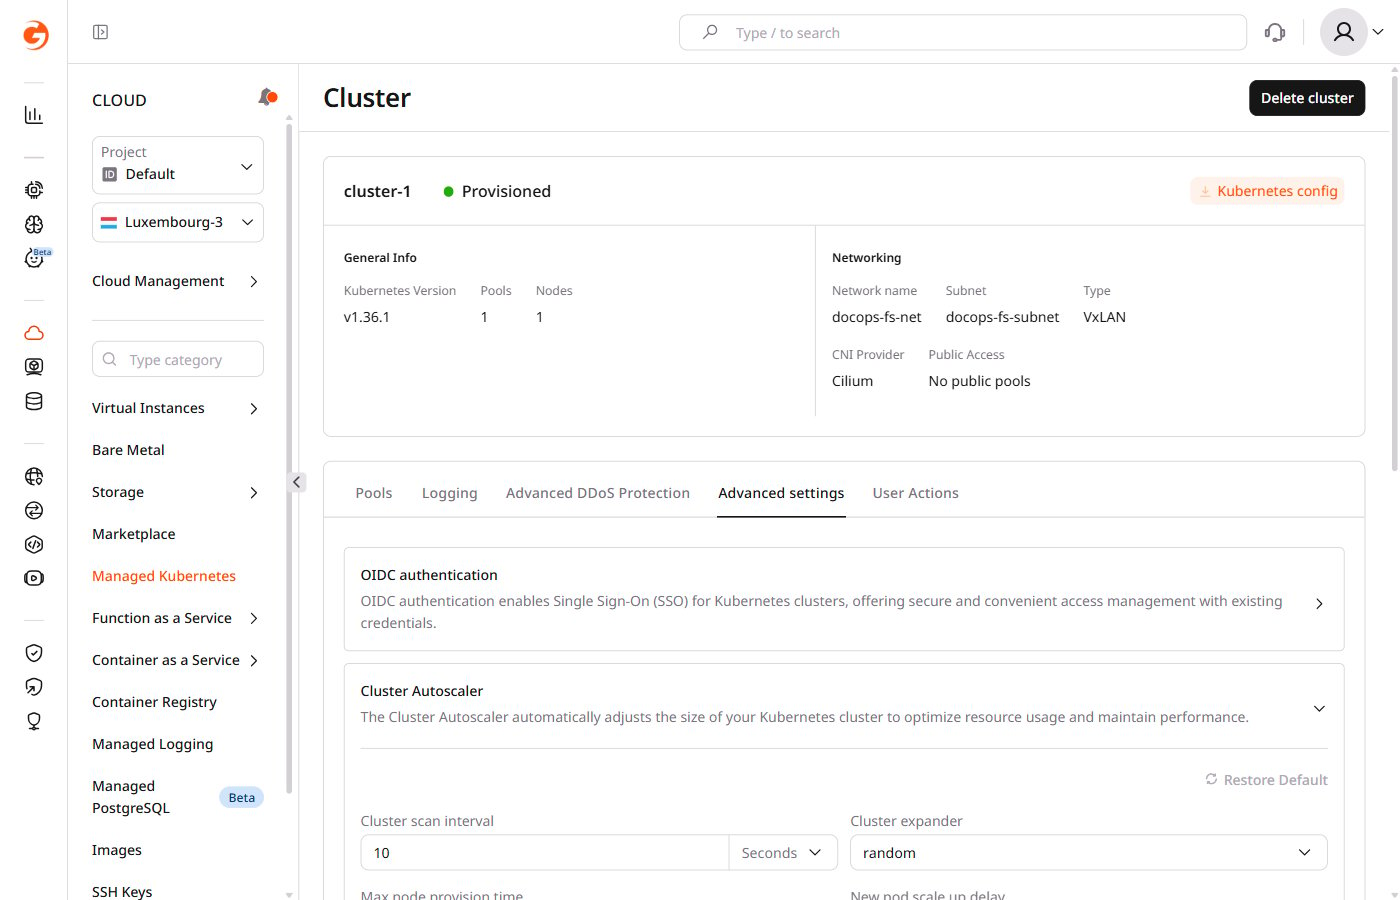
To configure a new cluster, scroll down to the Advanced settings section. For an existing cluster, open the cluster overview and click the Advanced settings tab.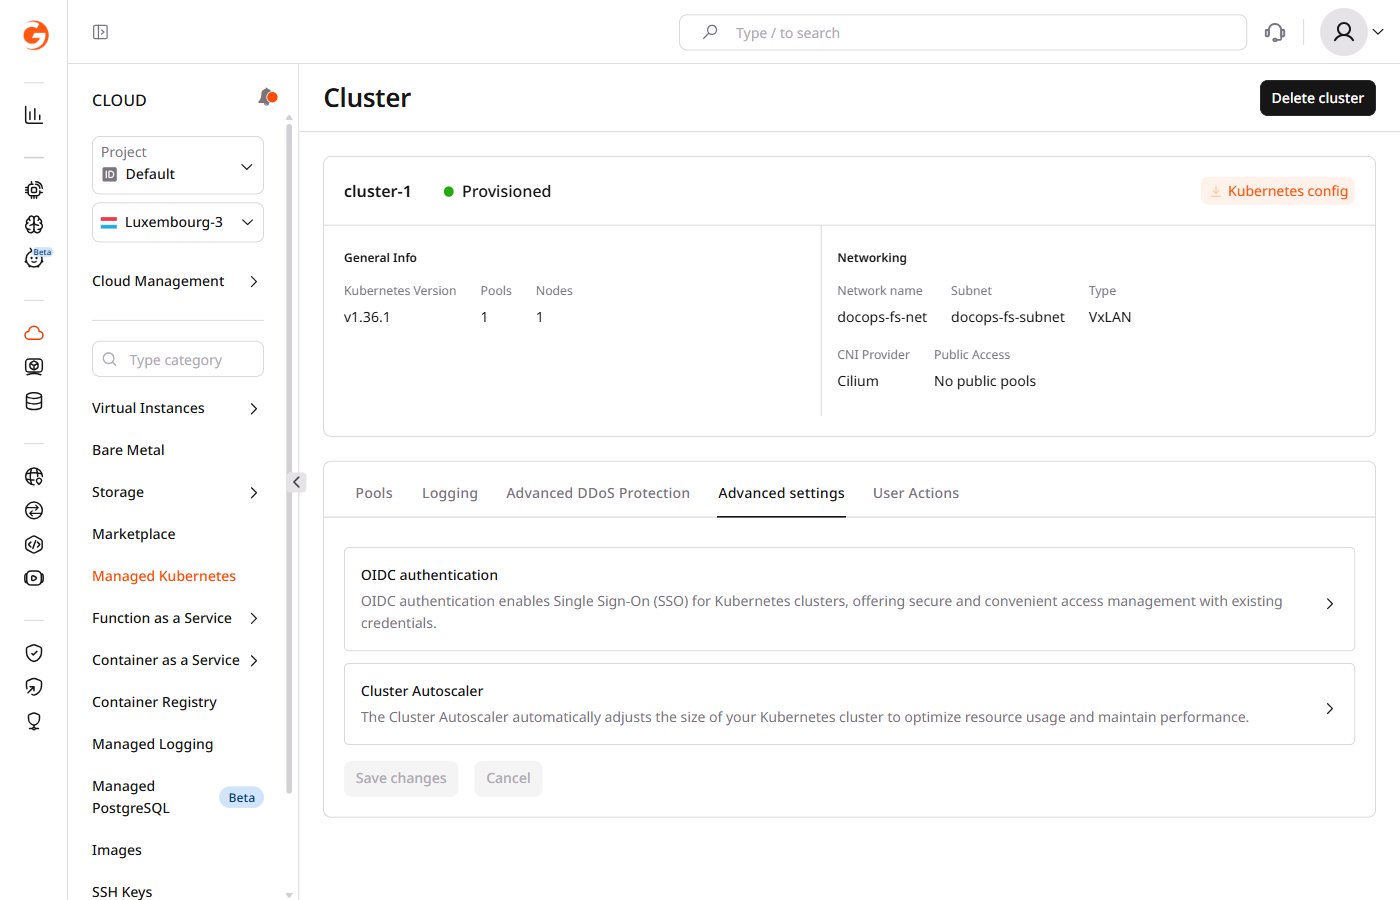
Cluster expander
Select which node group to scale up when additional capacity is needed:-
random: selects a random node group. -
most-pods: selects the node group that can schedule the largest number of pending pods. -
least-waste: selects the node group that leaves the least unused CPU and memory. -
price: selects the lowest-cost node group. -
priority: selects a node group according to the configured priority list. -
grpc: delegates node group selection to an external gRPC service.
Parameters
The remaining parameters control autoscaler behavior, including scan frequency, node provisioning, scale-down decisions, and node exclusion rules.To reset all autoscaler settings to defaults, click Restore Default.