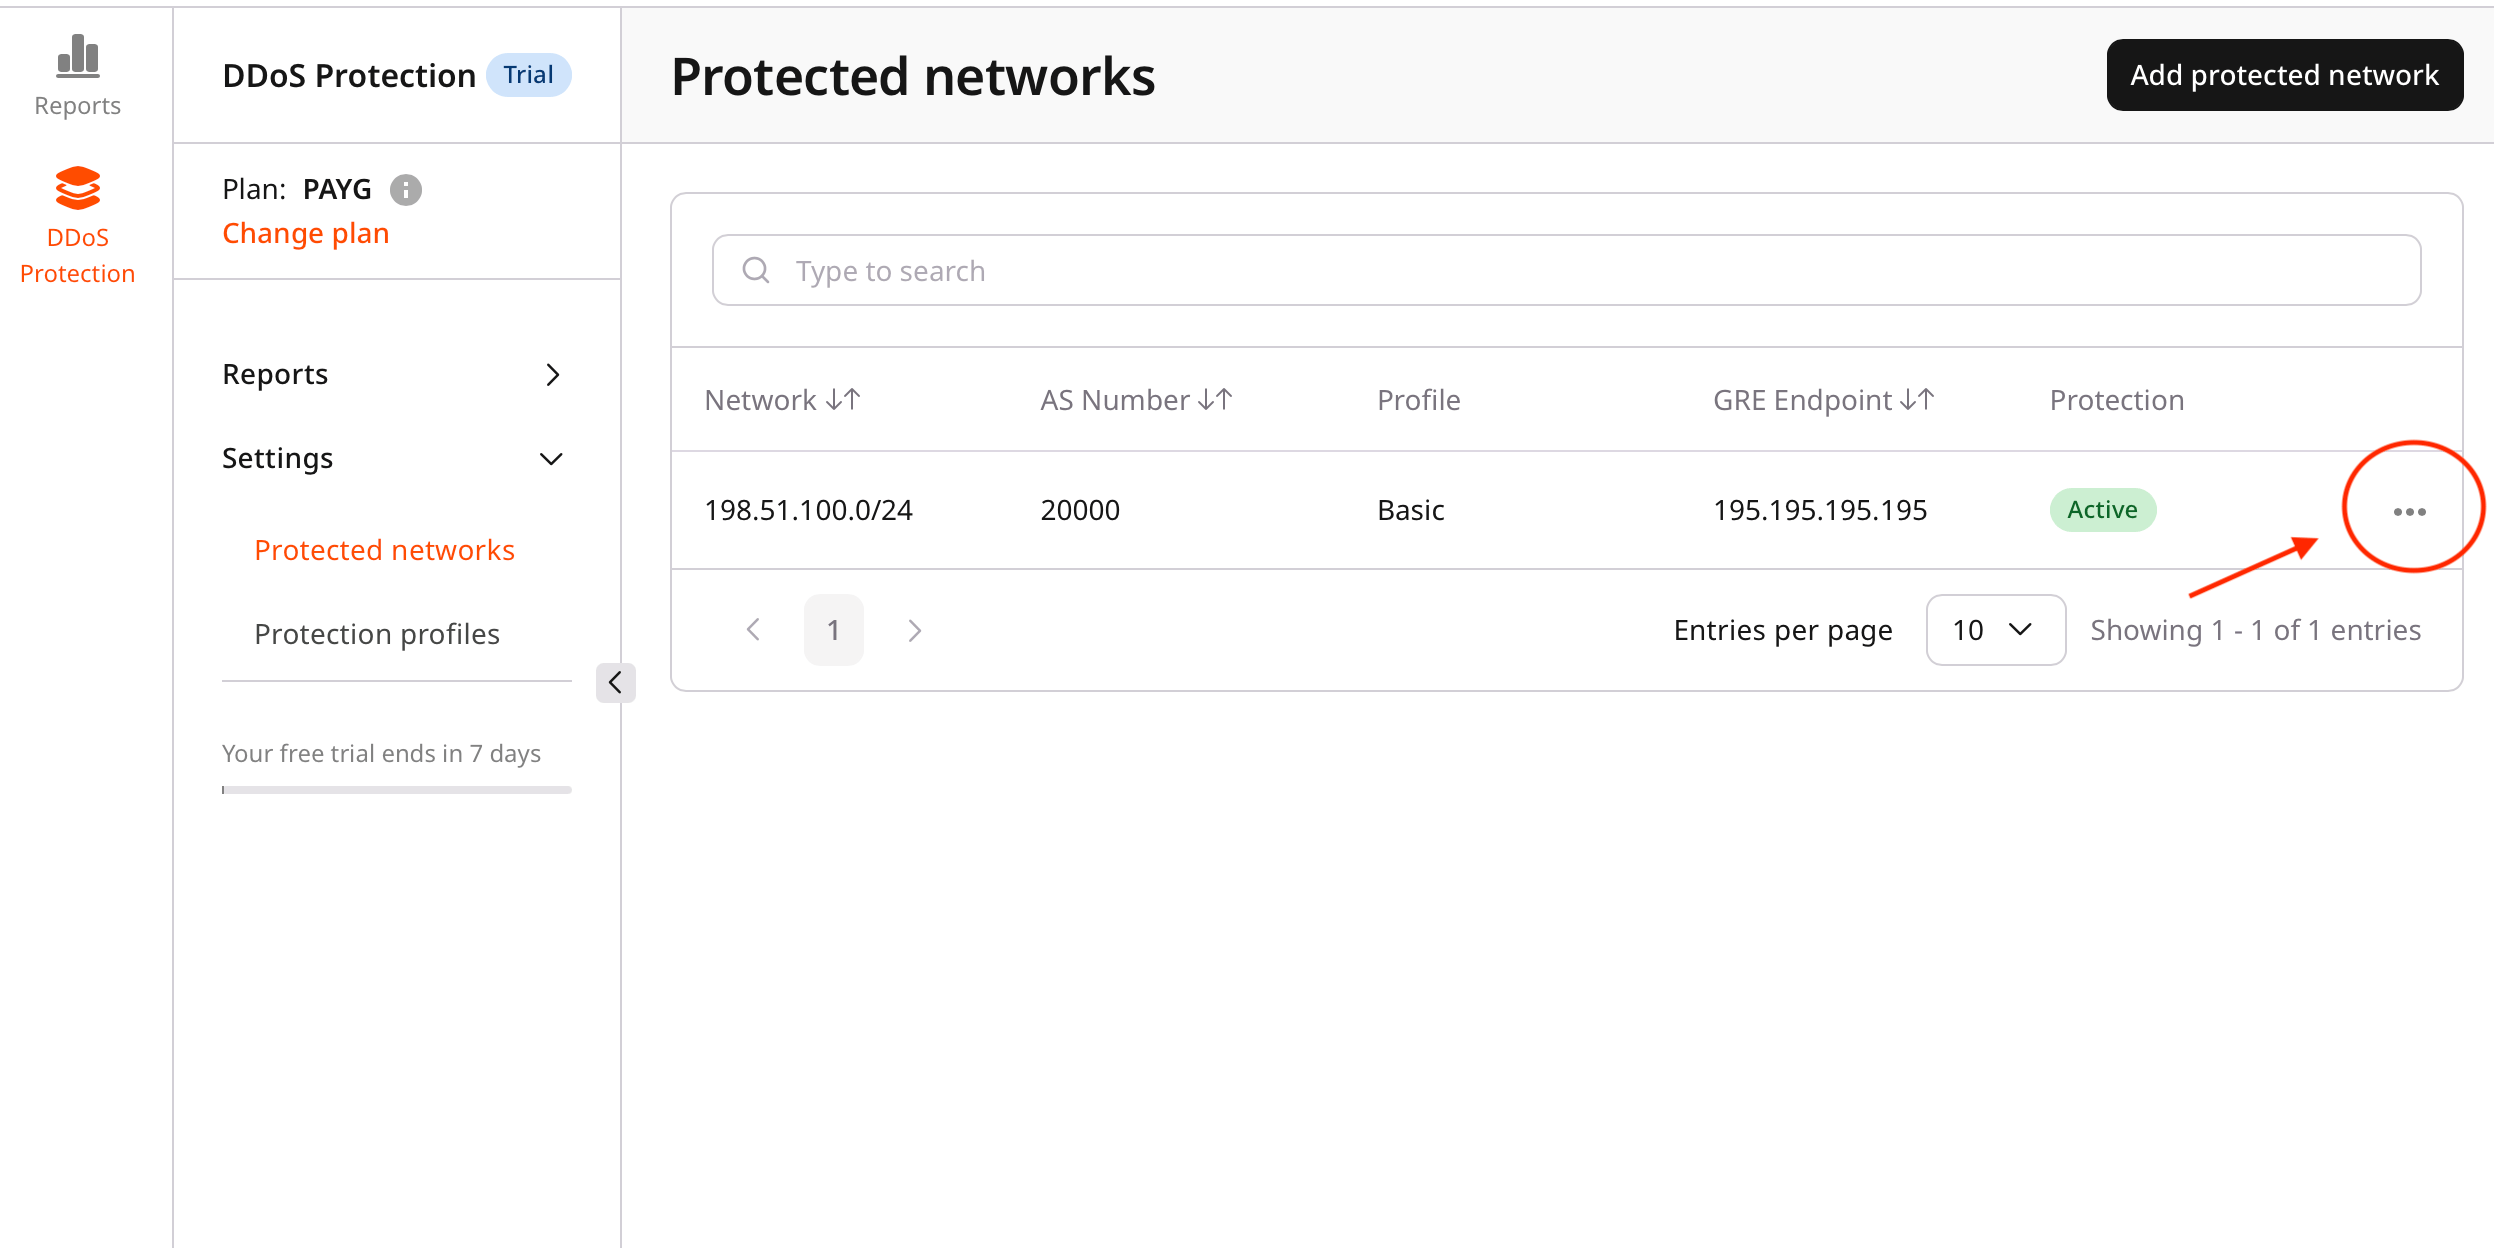
Step 1. Open protected networks
Protected networks appear in a single list in the Customer Portal, regardless of protection status.- In the Gcore Customer Portal, navigate to DDoS Protection > Protected networks.
- Locate the protected network to update.
Step 2. Edit the protected network
Open the edit view for the target network.- Next to the target network, click ….
- Select Edit.
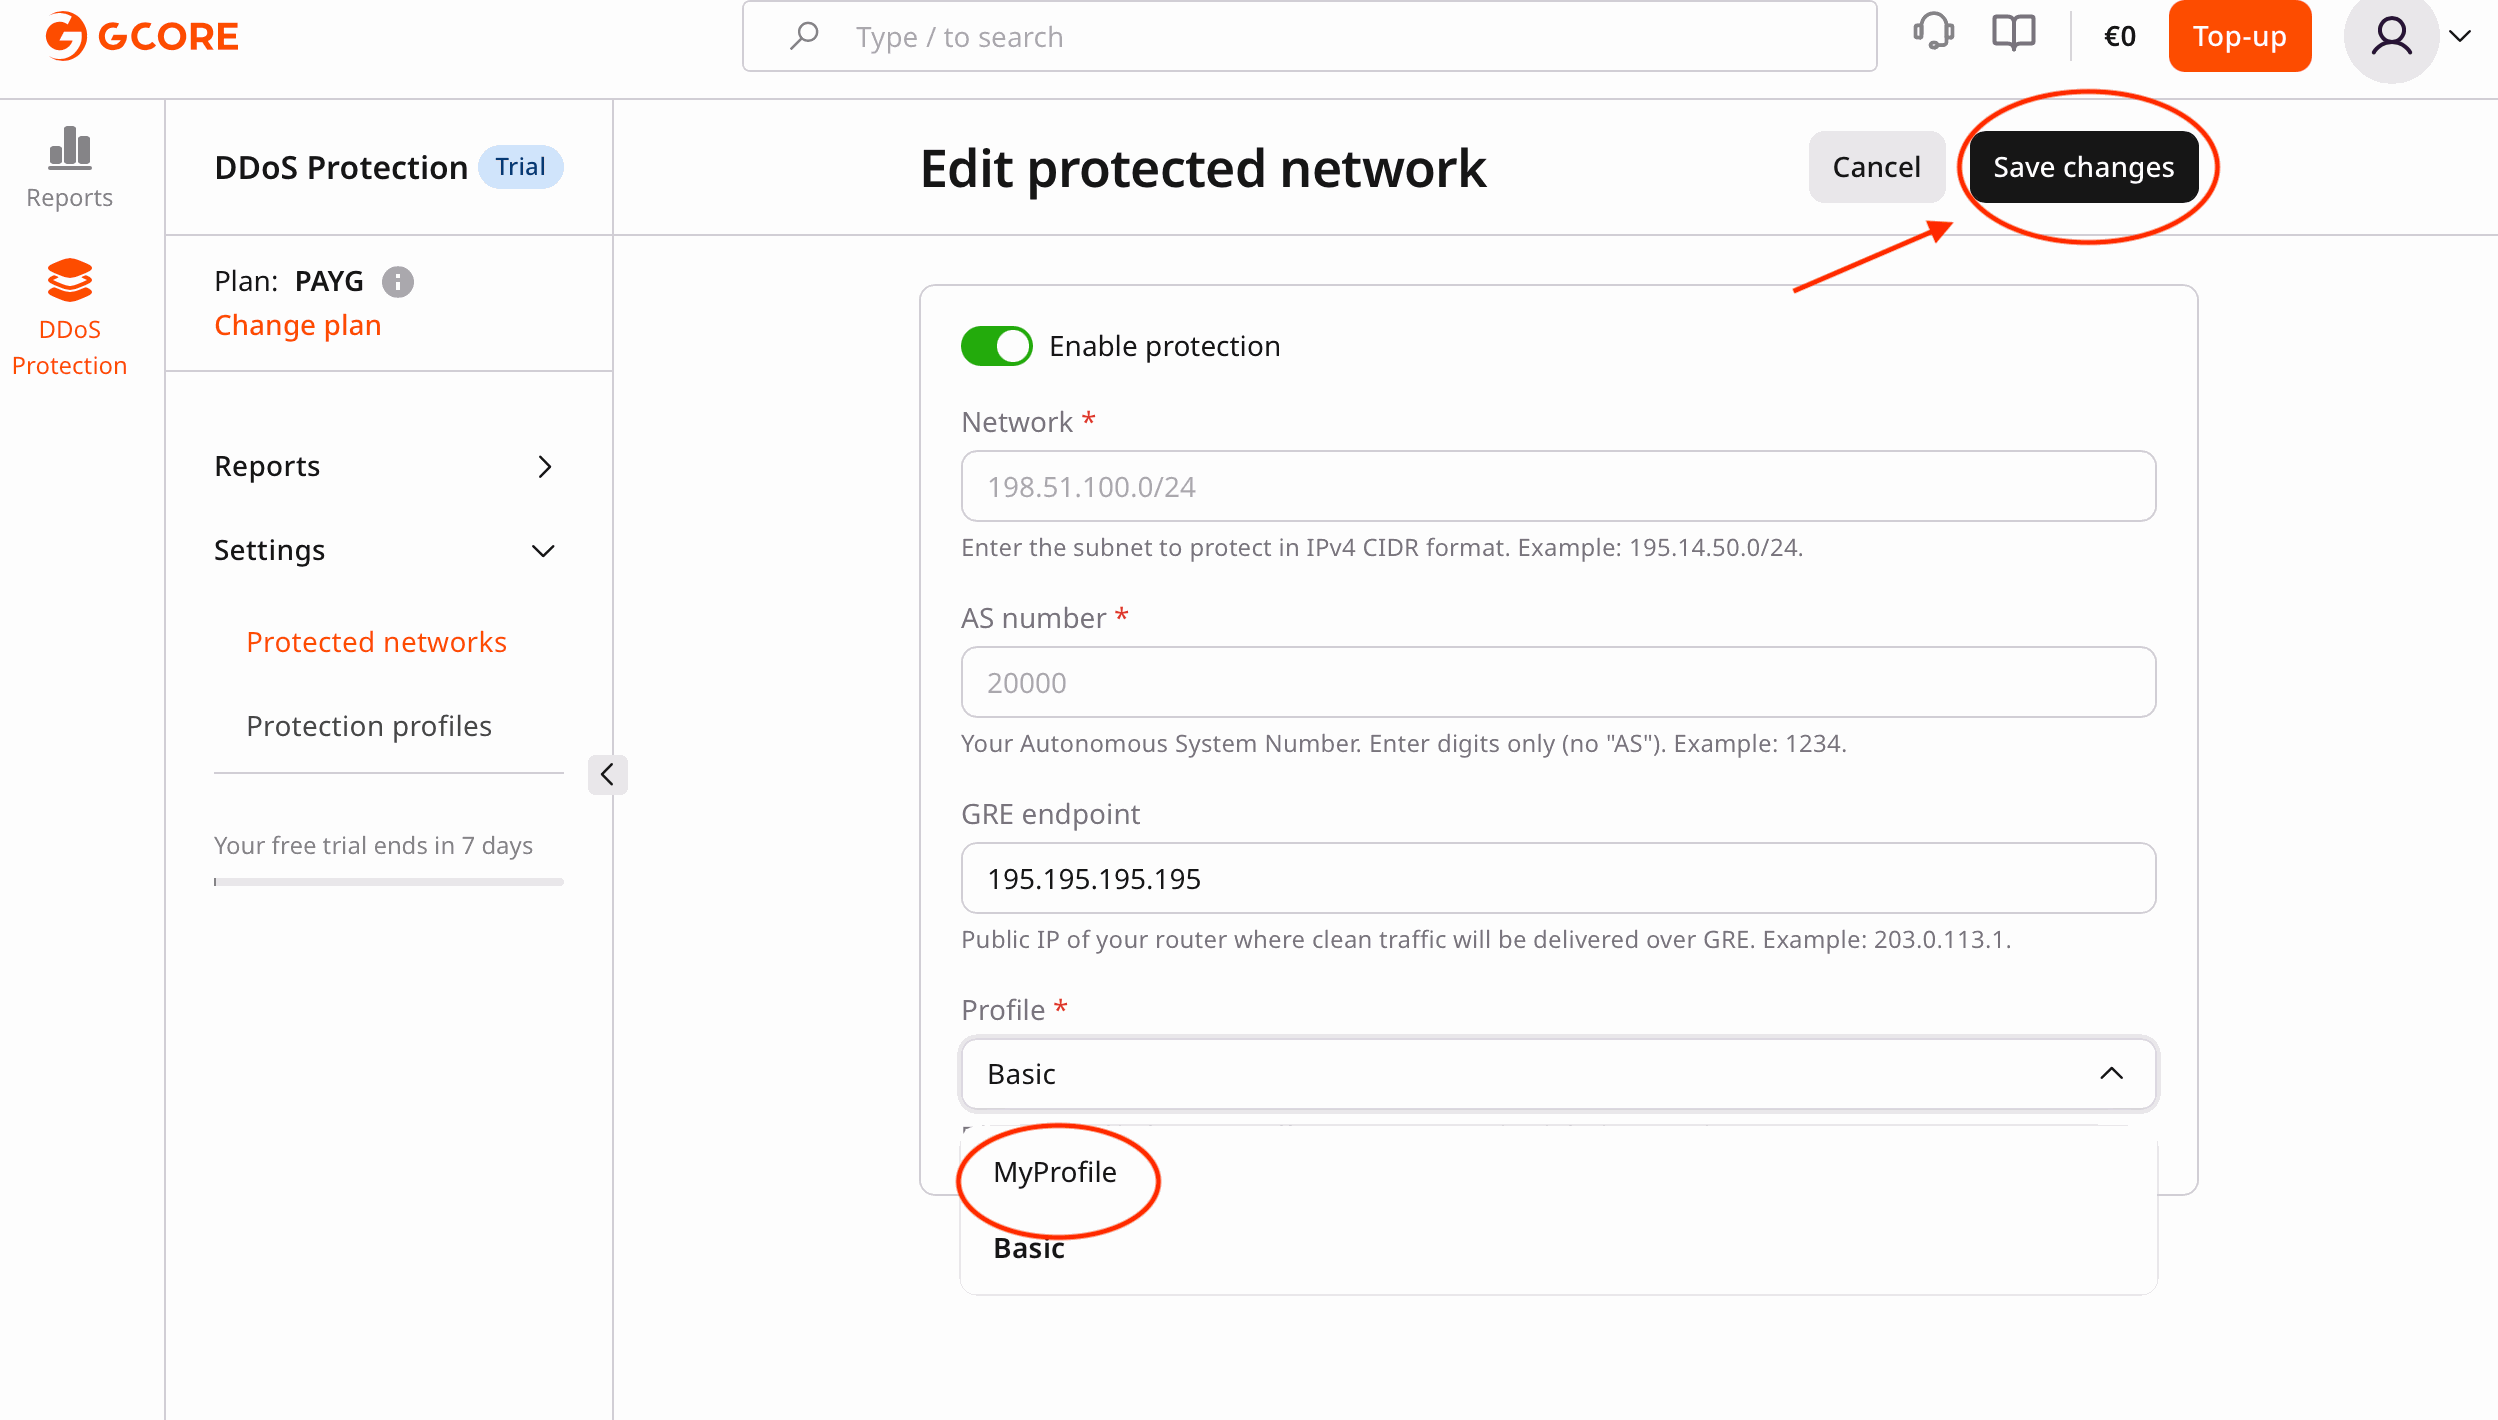
Step 3. Assign a protection profile
Select the profile to apply from the network’s edit view.- In the Edit protected network view, open the Profile list.
- Select the required protection profile.
Step 4. Save changes
Click Save changes to apply the selected profile to the network. The selected profile becomes active immediately.