

Upload the ISO image to DCImanager
1
Open DCImanager
- In the Gcore Hosting Portal, navigate to Products/Services → Dedicated servers.
- Select the server and click To panel.
2
Navigate to ISO-images
In the left sidebar, select Templates, then click the ISO-images tab.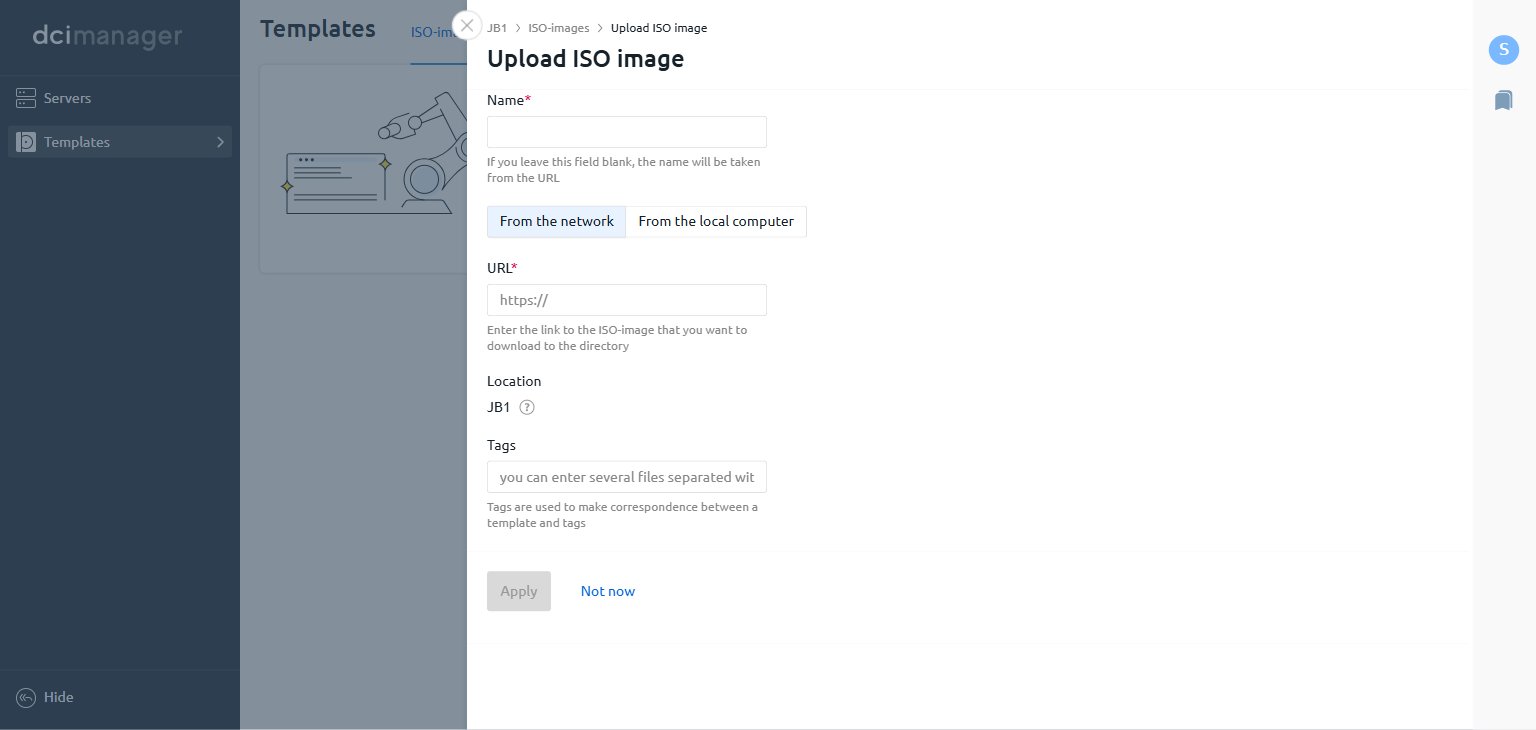
3
Upload the ISO image
Click Upload ISO-image and fill in the form:
- Name — enter a name, or leave blank to use the filename from the URL.
- Select the source:
- From the network — paste the direct download URL of the ISO file.
- From the local computer — select a file from the local machine.
- Location — pre-filled based on the server’s datacenter.
Boot the server from the ISO image
1
Start the ISO boot
In DCImanager, go to Servers. Find the server in the list and click ⋮ at the end of its row, then select Load the server from the ISO-image.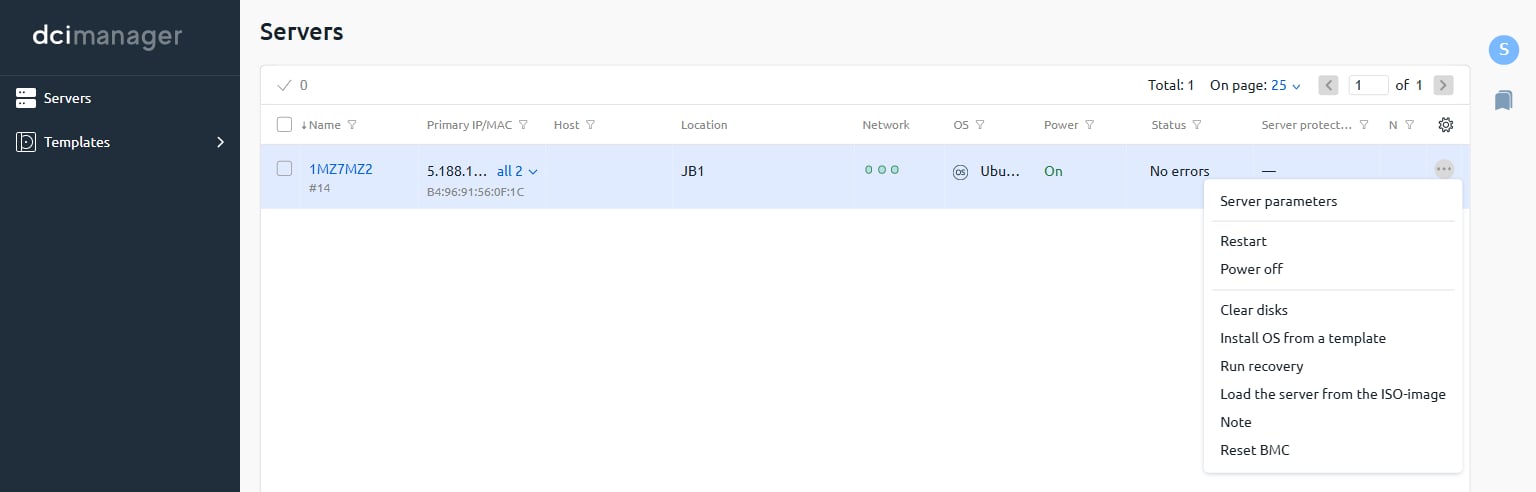
2
Open and sign in to iDRAC
- In DCImanager, click the server name in the Servers list to expand its row.
- Under Connections, click Go to next to IPMI v2(lanplus). The iDRAC interface opens in a new tab.
- Log in using the IPMI credentials provided with the server.
3
Complete the installation
In iDRAC, open the remote console to access the server display. The OS installer appears once the server has booted from the ISO image. Follow the installer prompts to complete the installation, then restart the server.